Custom Models
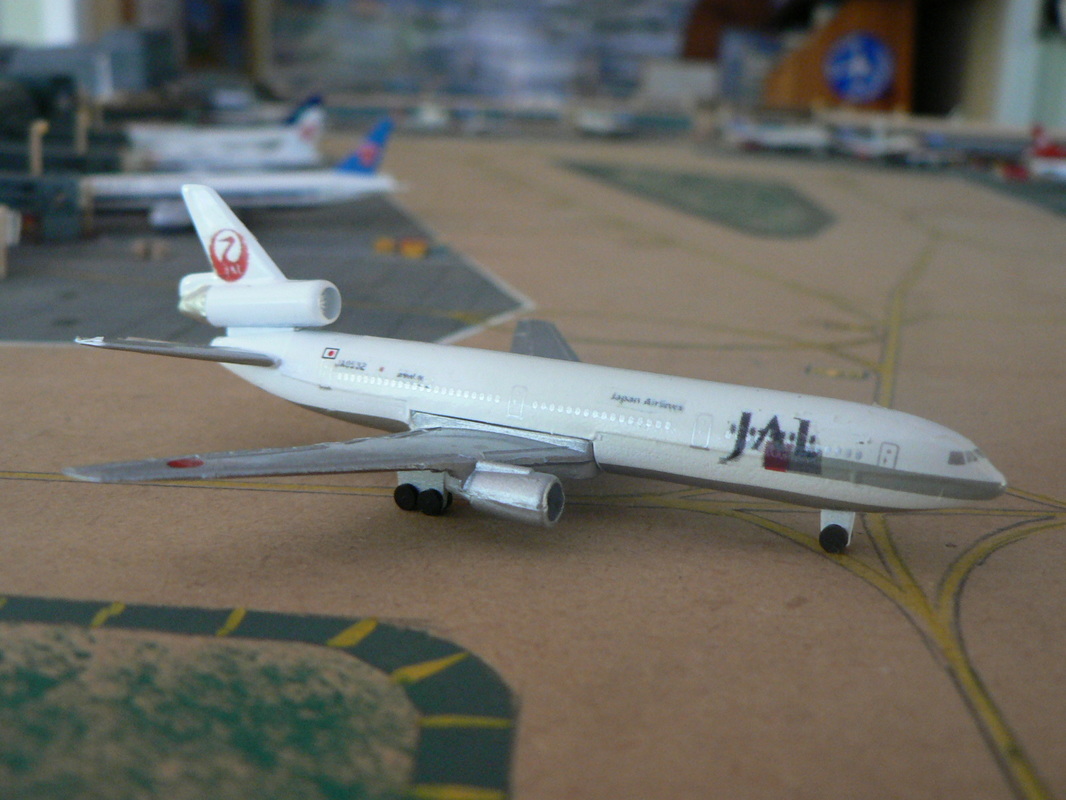
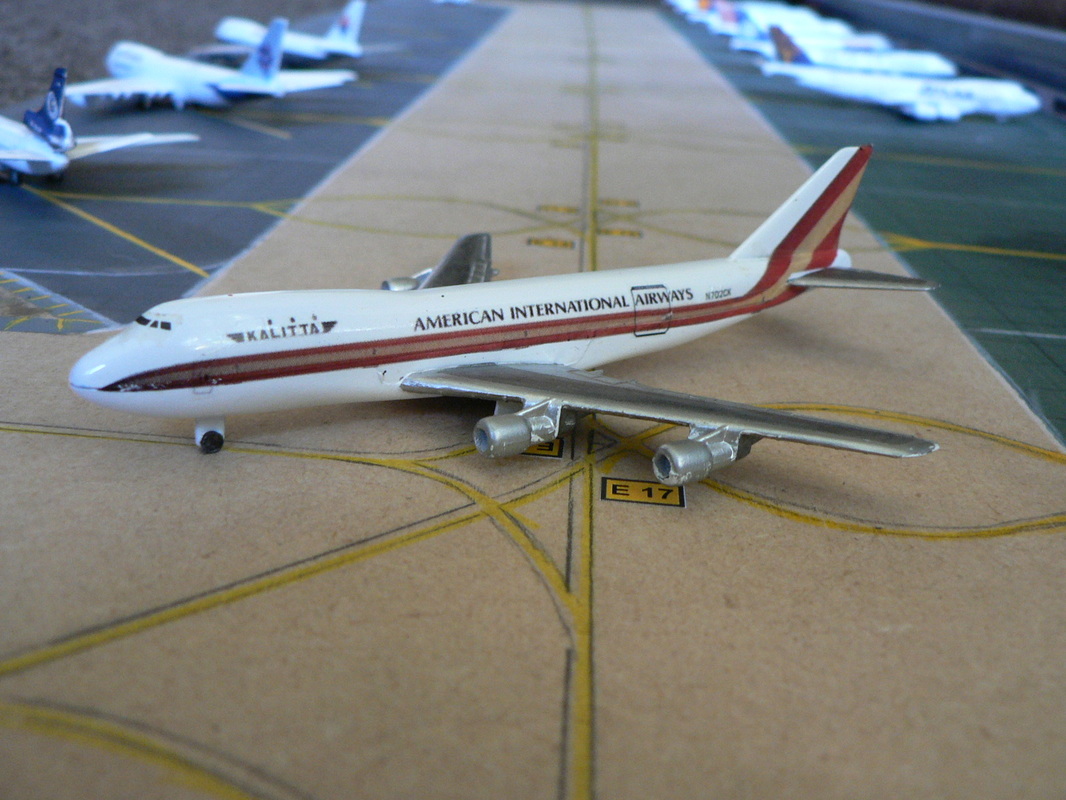
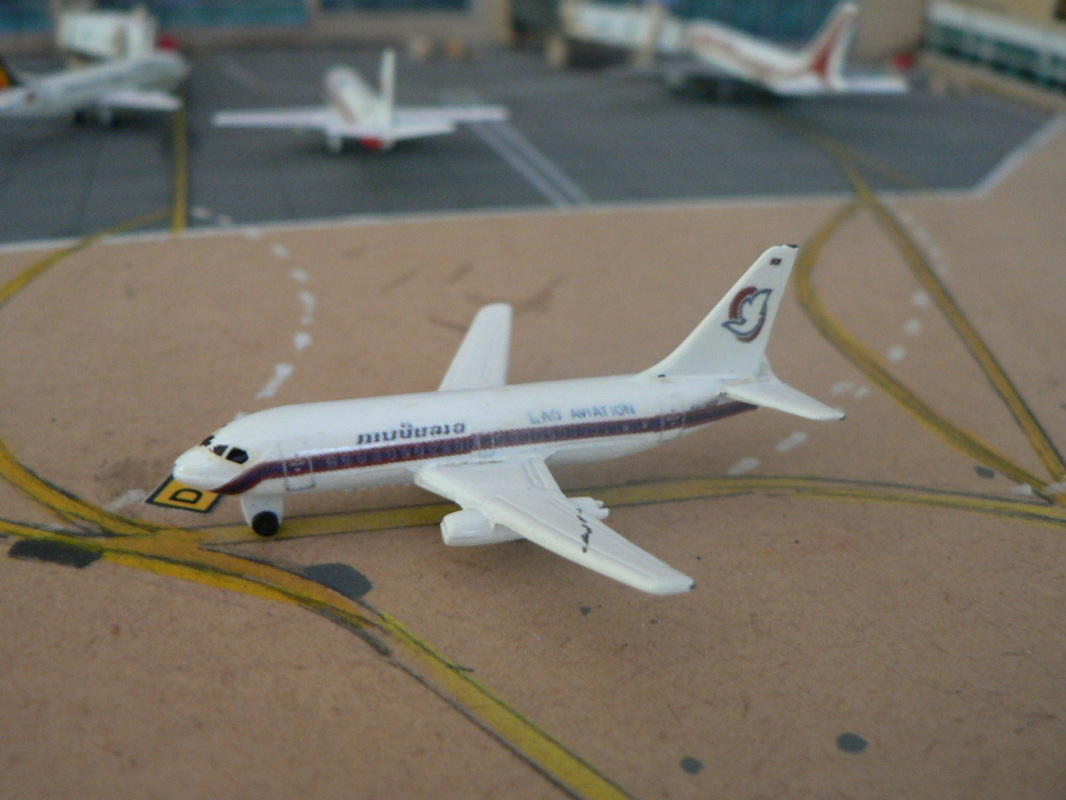
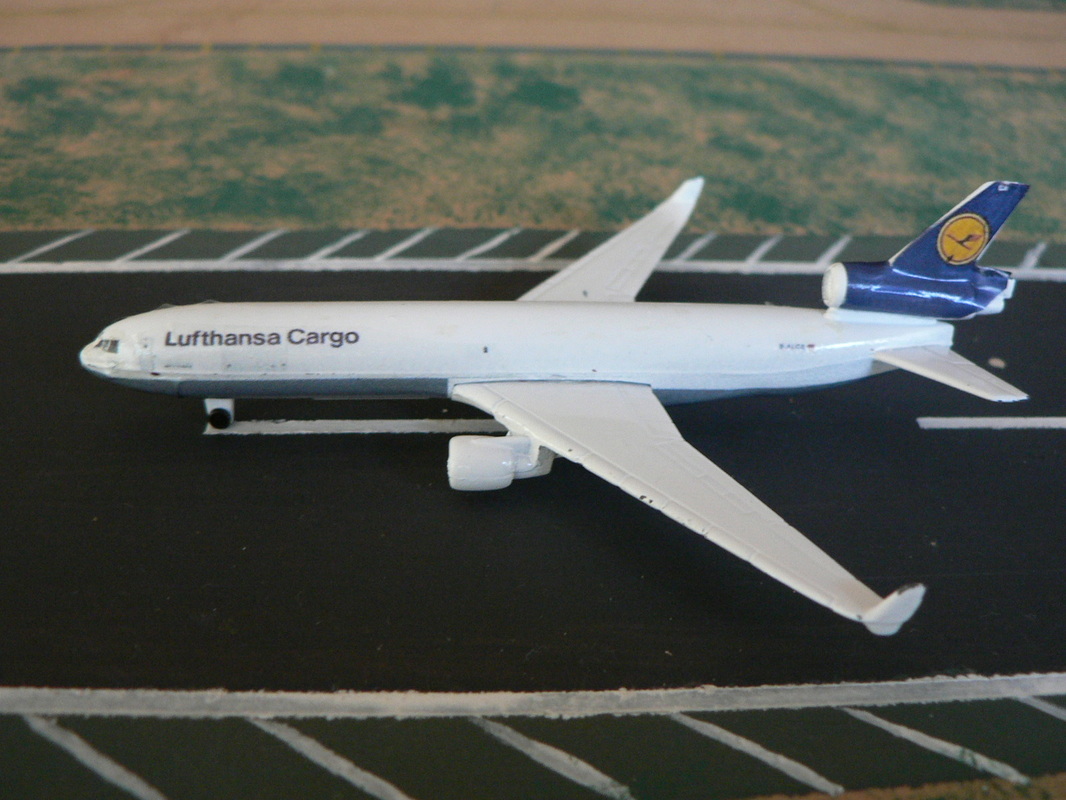
With their decal application and small size Schabaks are perfect for turning into custom models. Though only having limited skills I created loads of custom models for Imogenia and others just for fun. They are nowhere near as good as the custom models I have seen made by Sunbee and Rainier over at scale600 but they were good enough to take their place amongst the standard Schabaks.
Schabak produced a wide range of models however they tended towards the larger airlines and aircraft types. In particular Schabak's exposure to Chinese airlines was very limited (Schabak had only produced 5 models). This meant there were lots of smaller airlines and aircraft that Schabak never made that could have logically served Imogenia in 1997. After much trial and error I finally found a way to make my own custom models and this was it:
- Search on Airliners.net for good side views of the plane I want, choosing one photo.
- Use Paint Shop Pro to copy/paste sections of cheatline and / or spray can colours to remove the wings.
- Use white to remove the background and clean up the white fuselage areas on the photo.
- Take a copy of the photo and mirror it to make an identical other side.
- Copy and paste the titles / registration onto the other side mirroring and rotating them to read correctly.
- Take both images and paste them into a word document scaling to fit a 1:600 size model by measuring the model itself and trying a few test prints.
- Print using a laser printer (though an inkjet would do fine) onto clear decal paper and then apply decal sealant spray.
- Prepare the model by skinning the original decals using hot water. The model used really needs a white base colour (white doesn't print on printers) as I found painting the models difficult.
- Slide the decals onto the model in four parts: right side, left side and both tail sides.
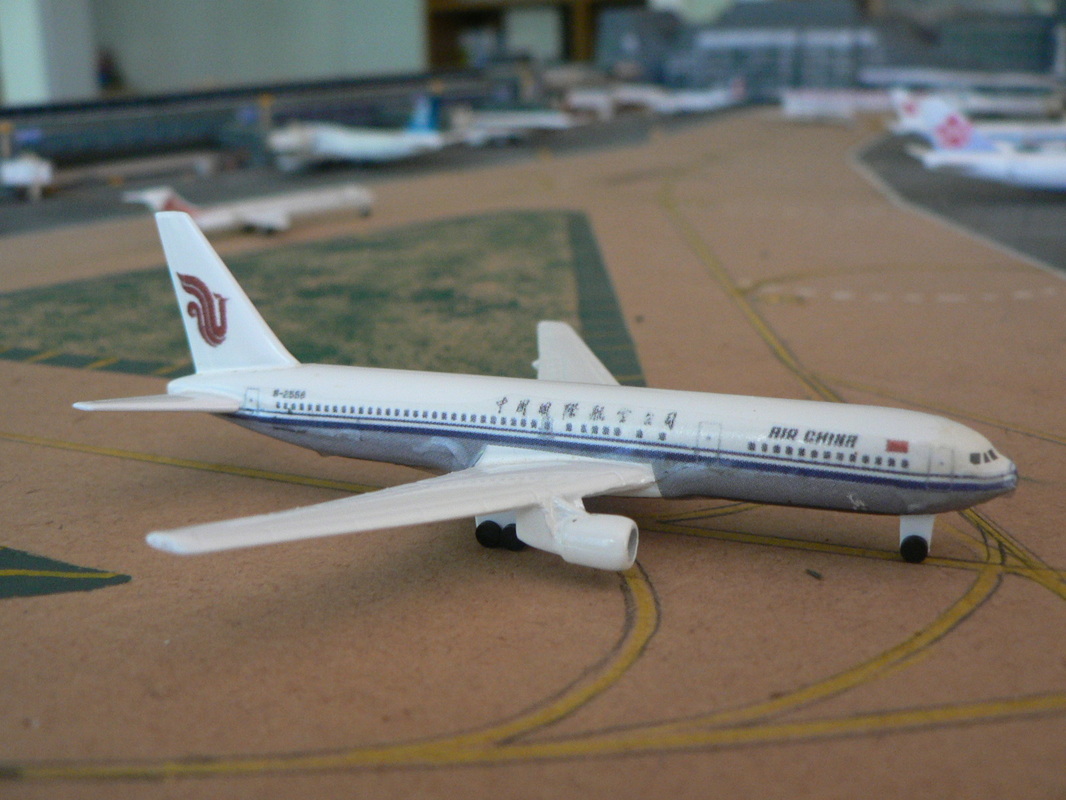
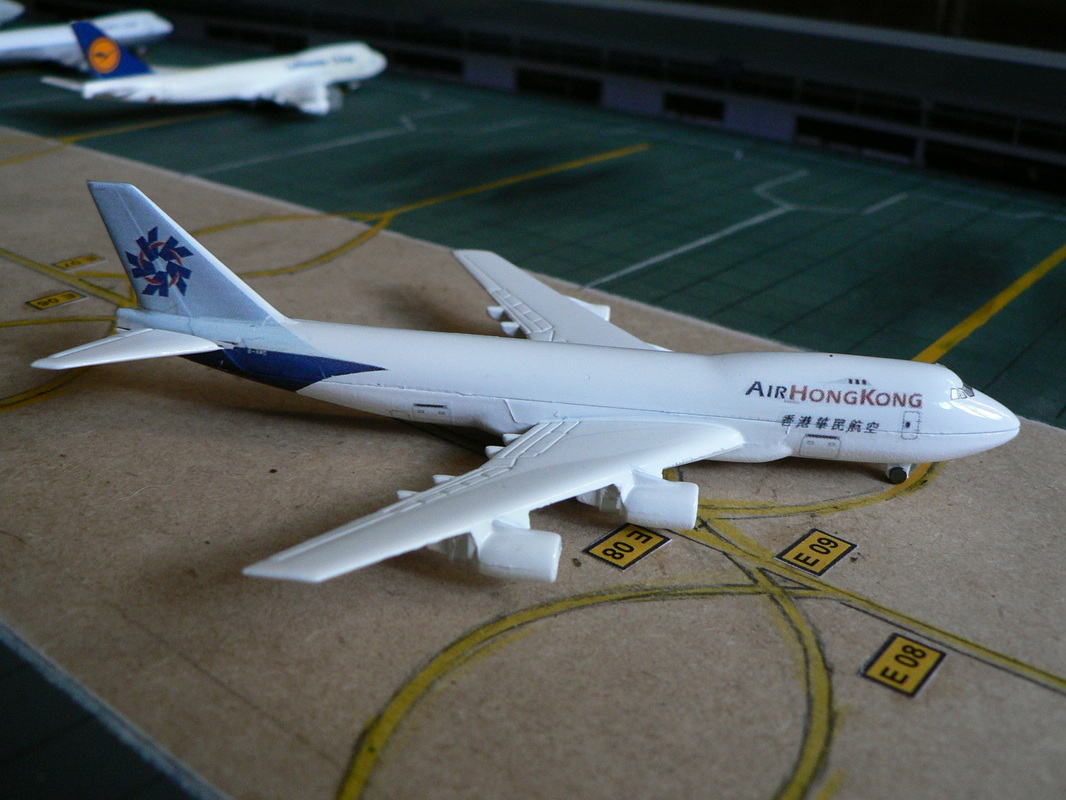
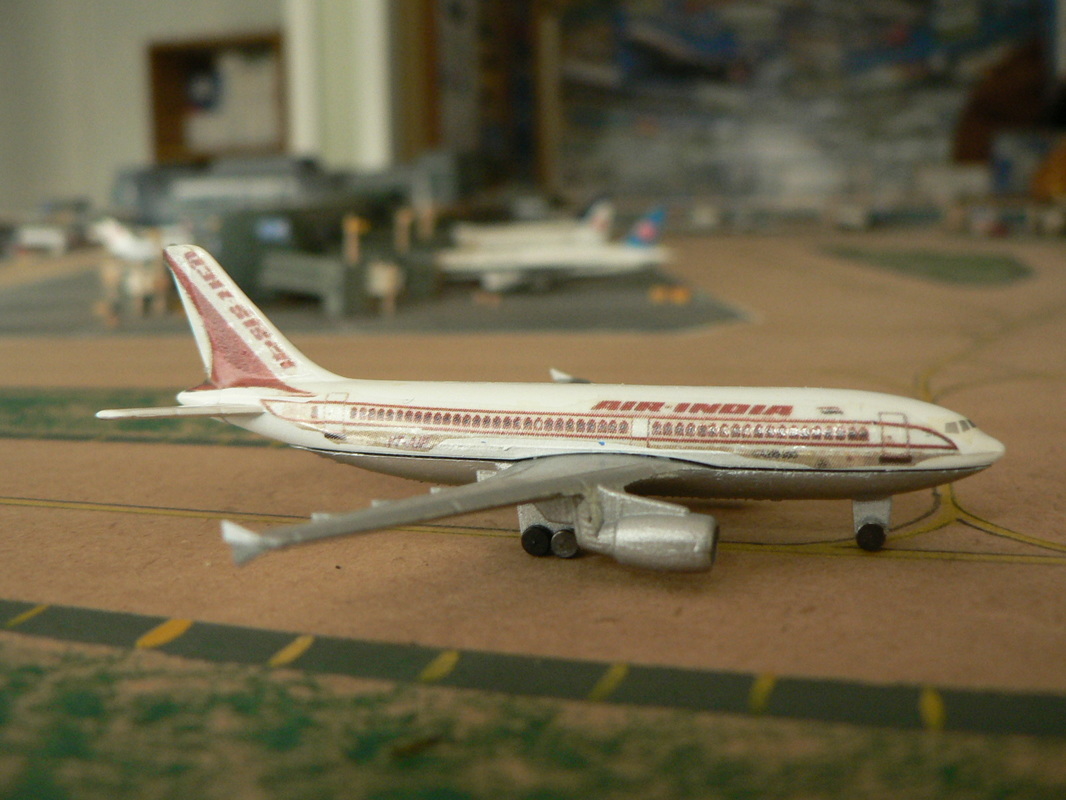
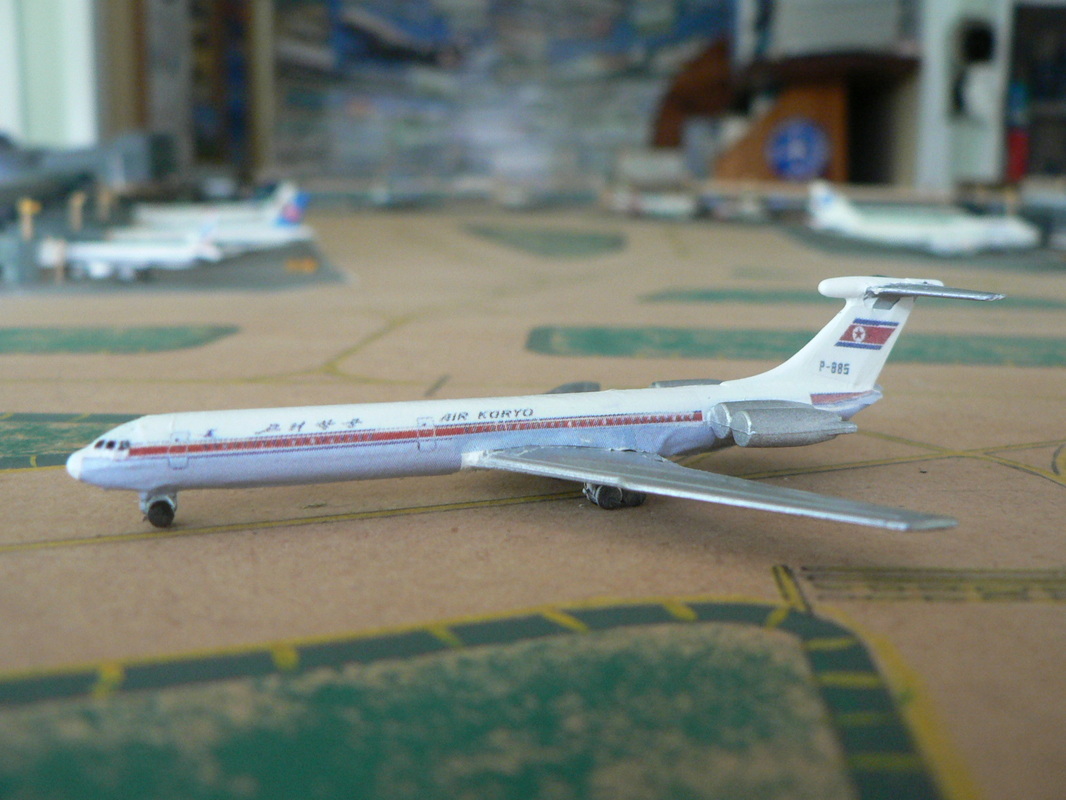
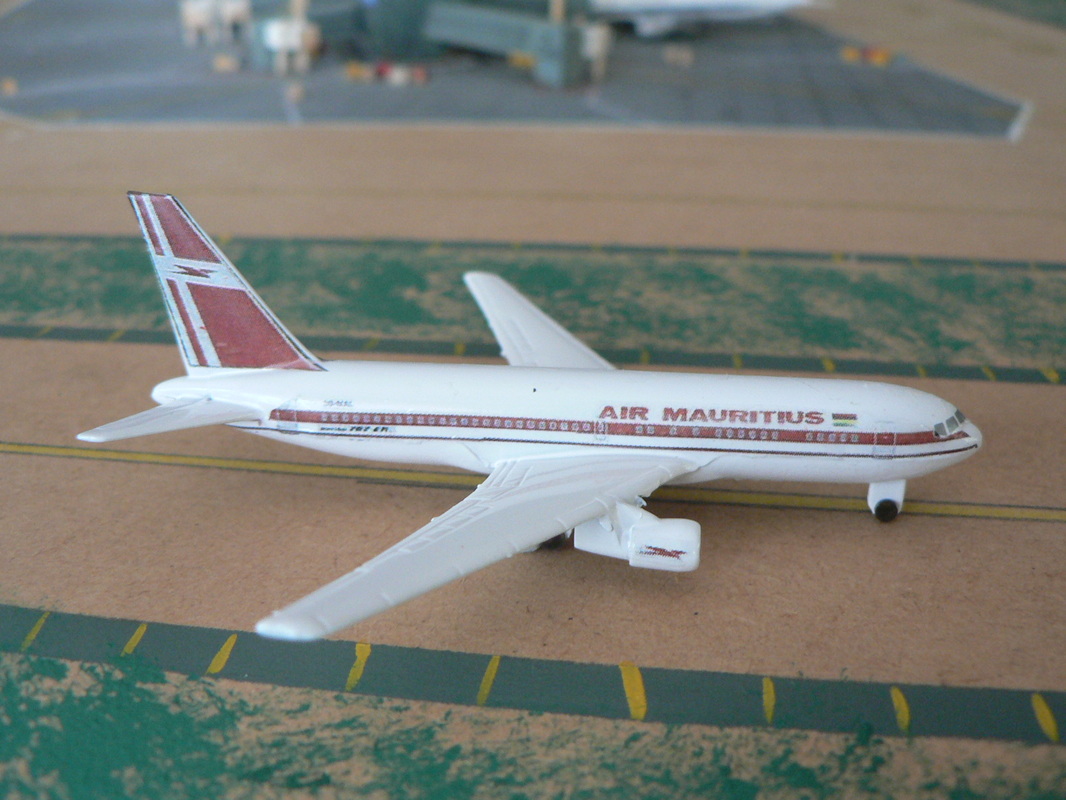
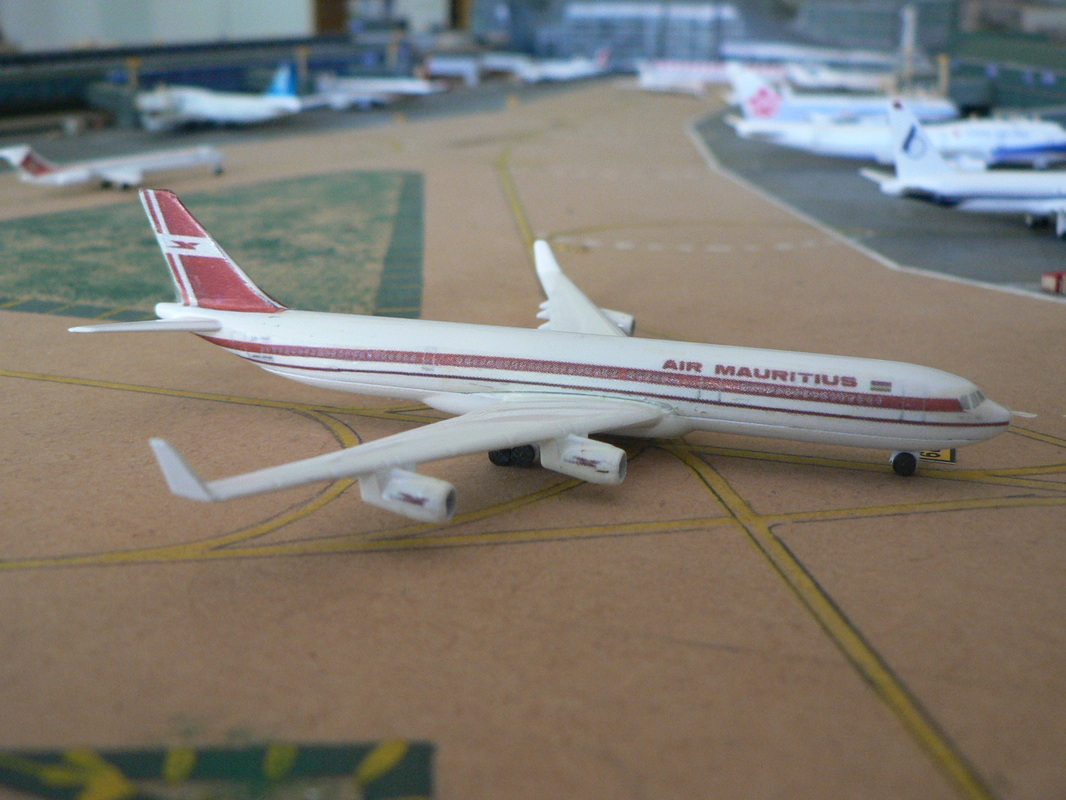
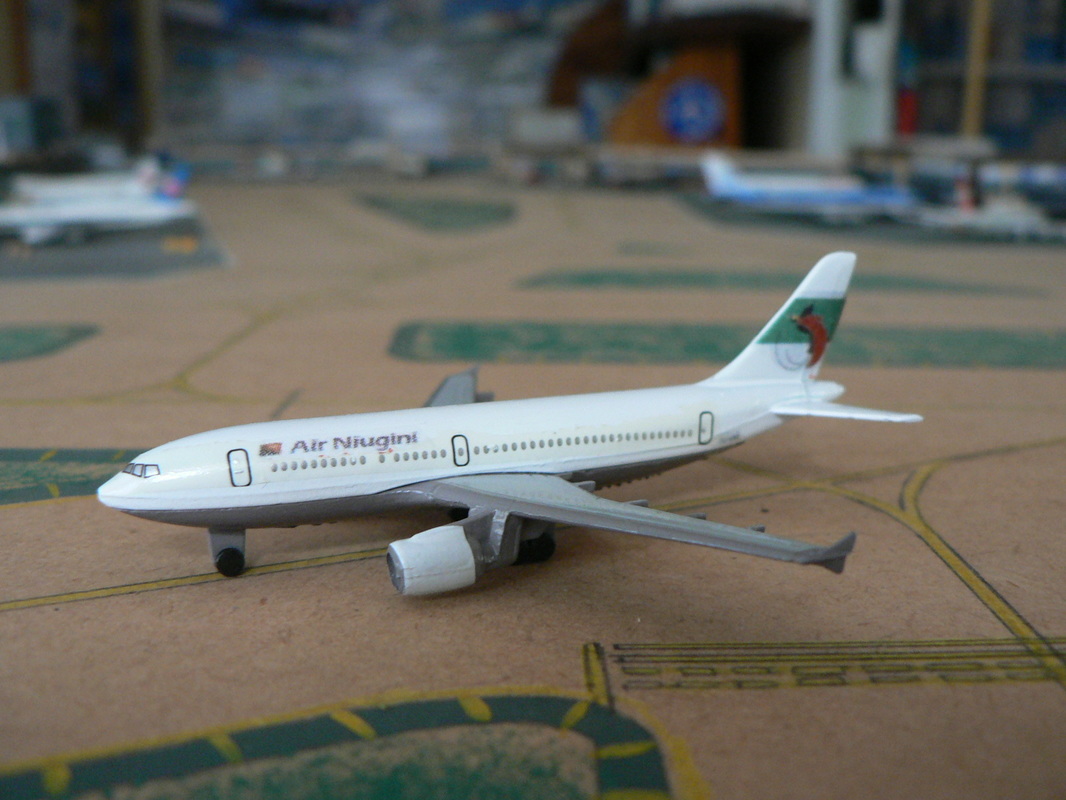
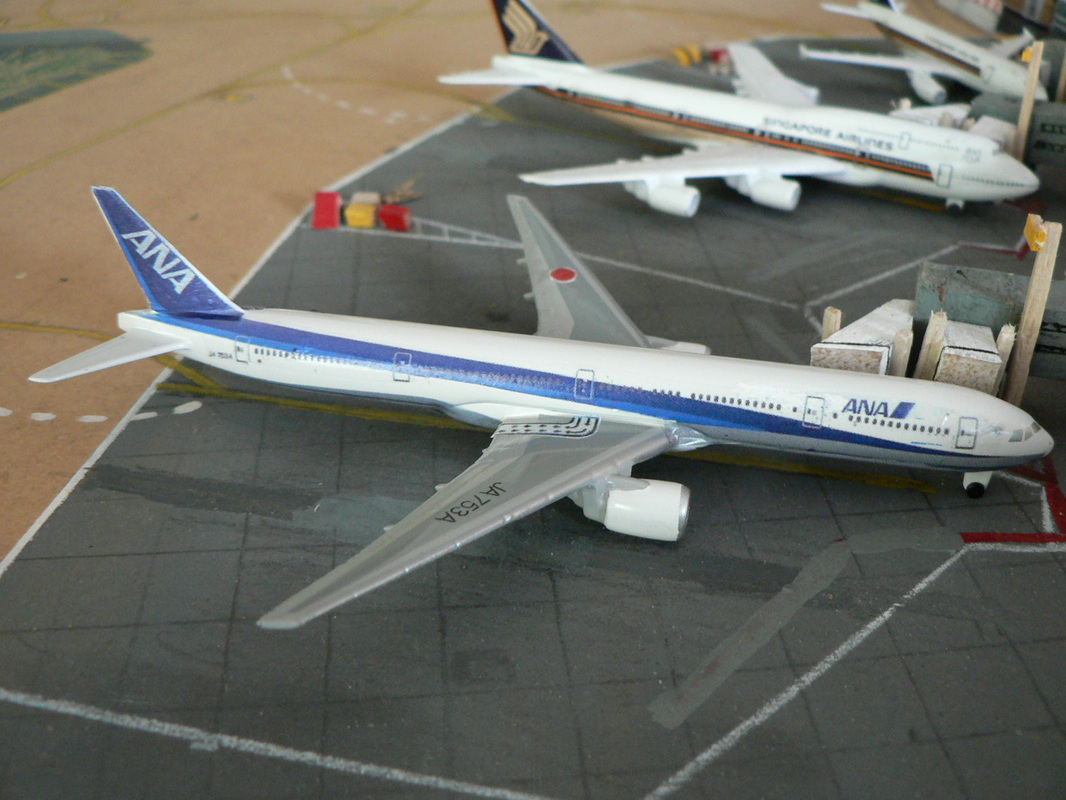
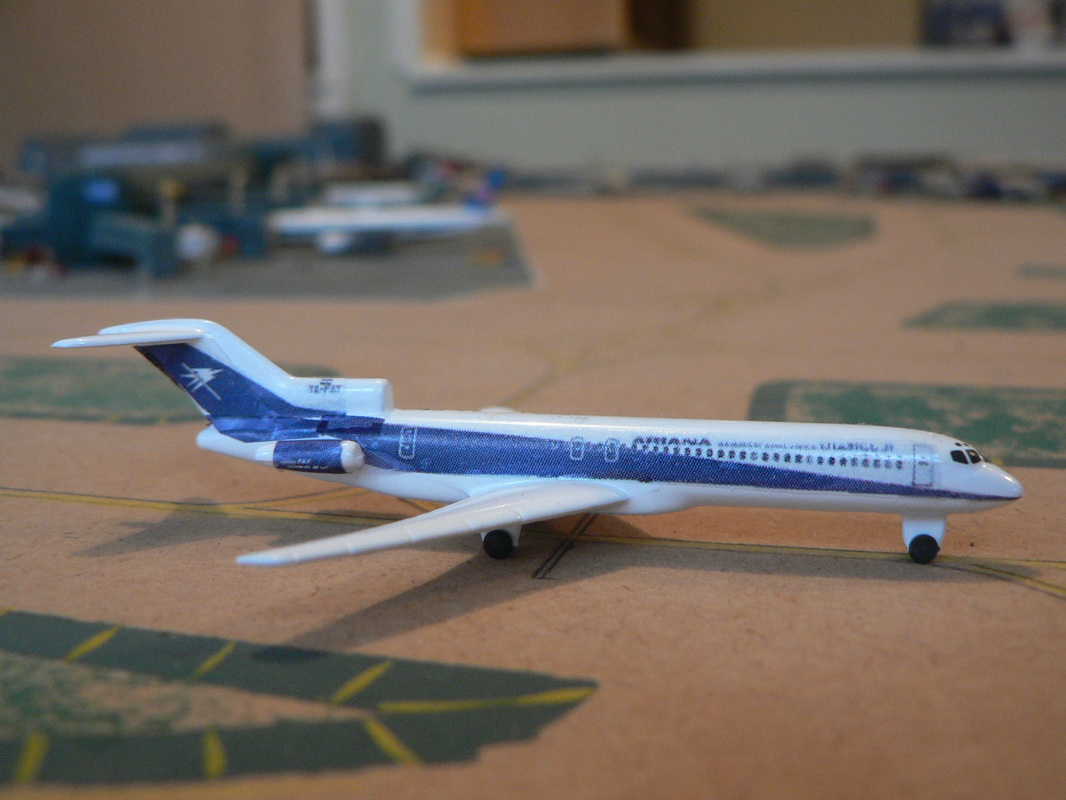
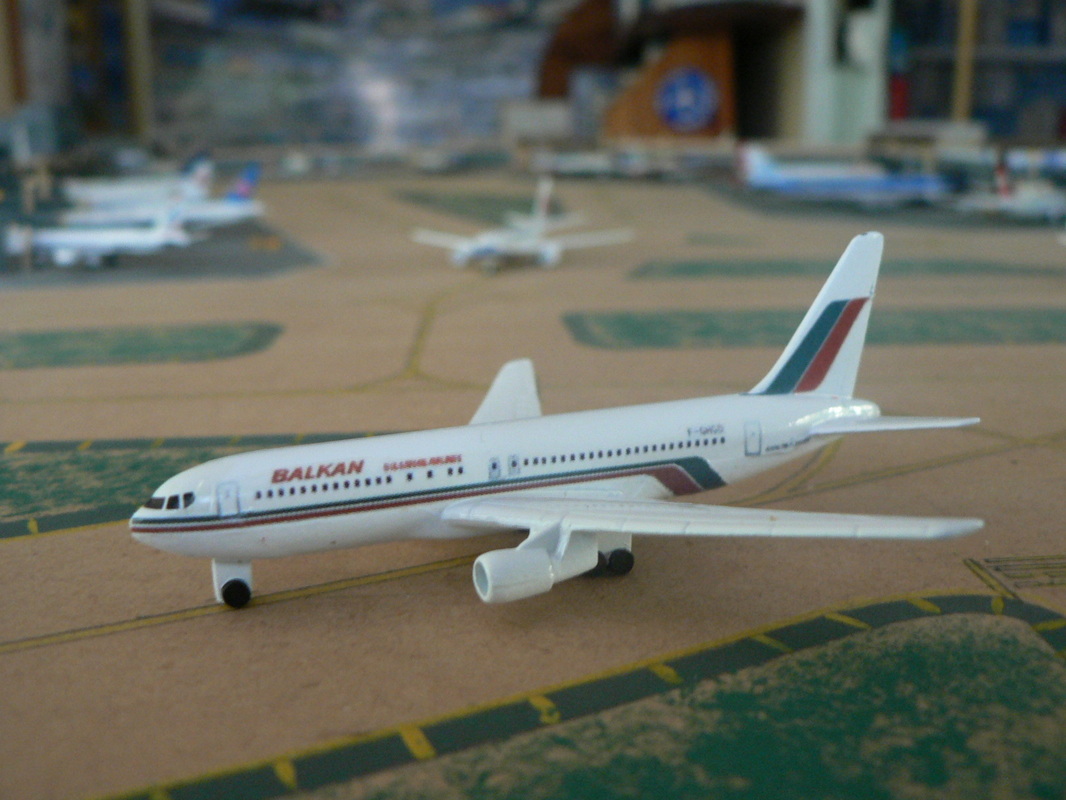
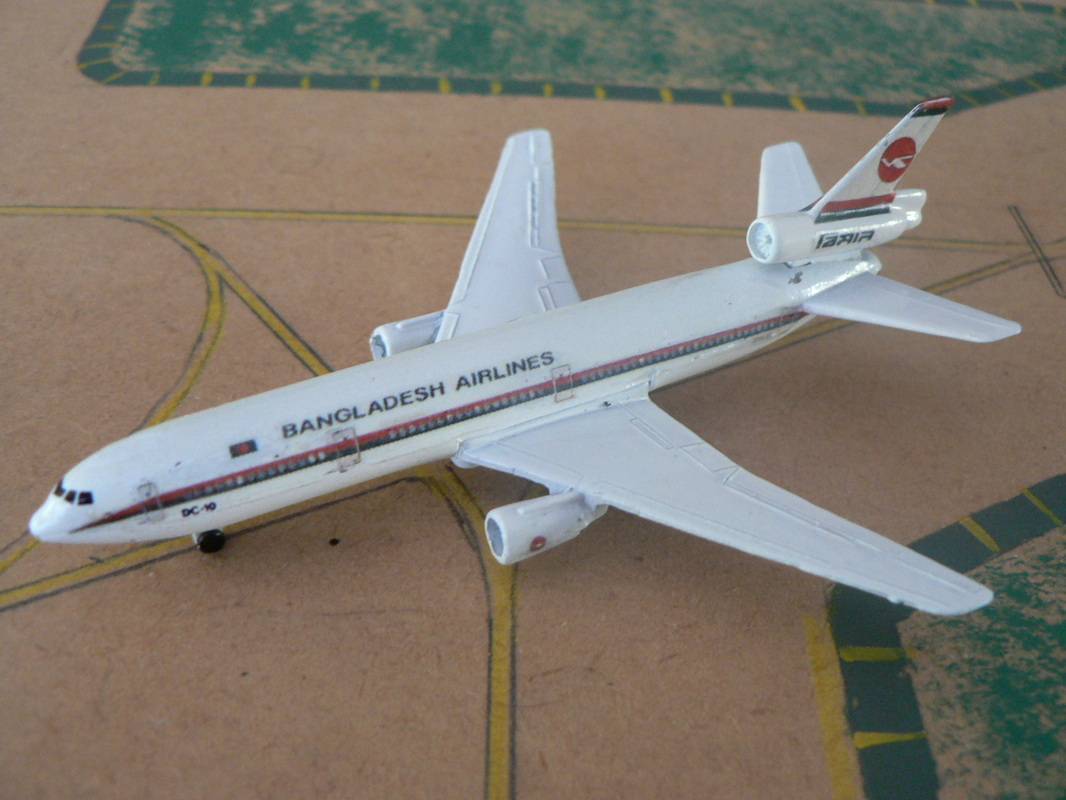
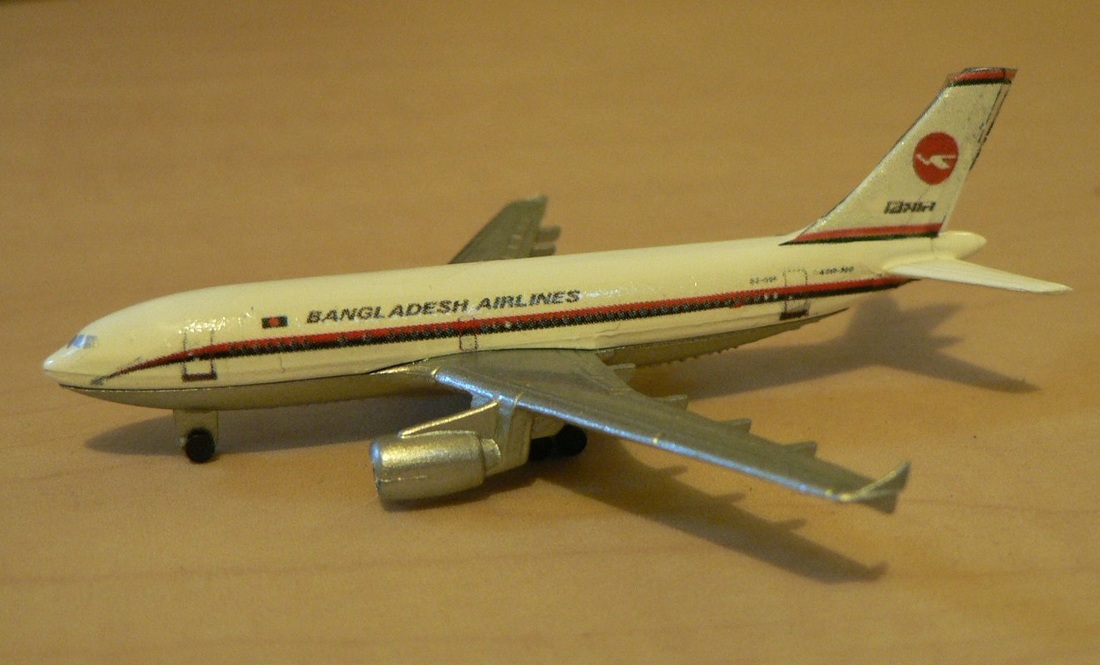
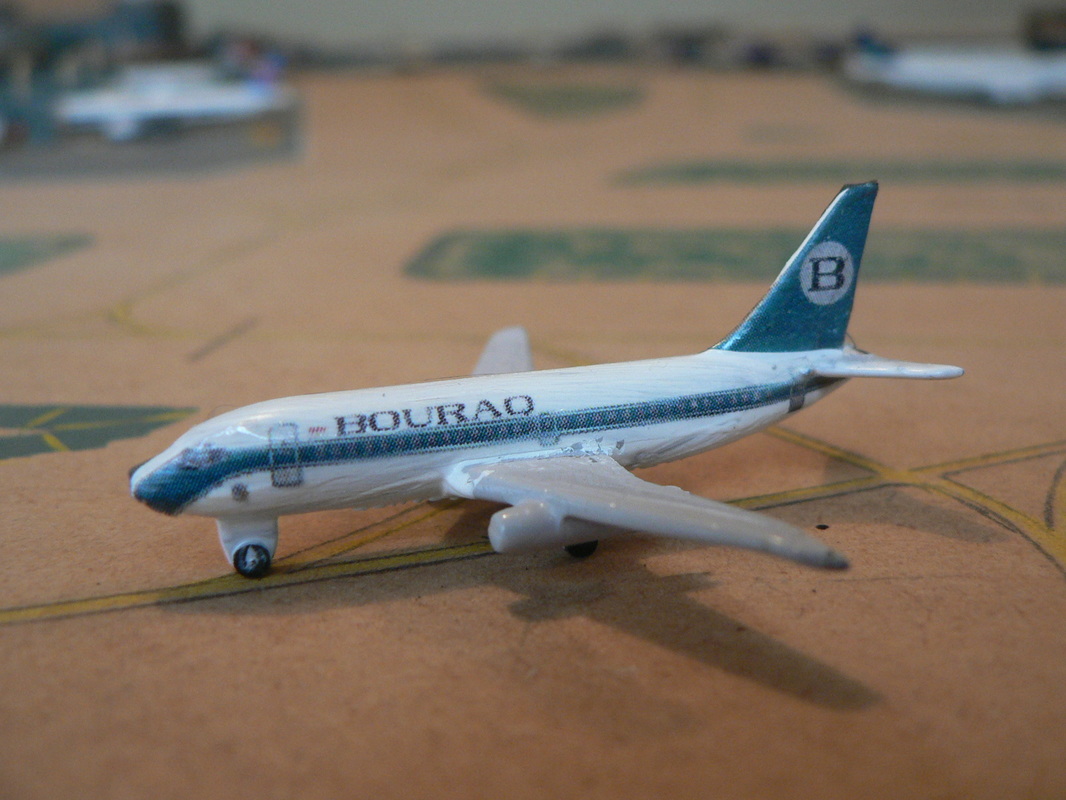
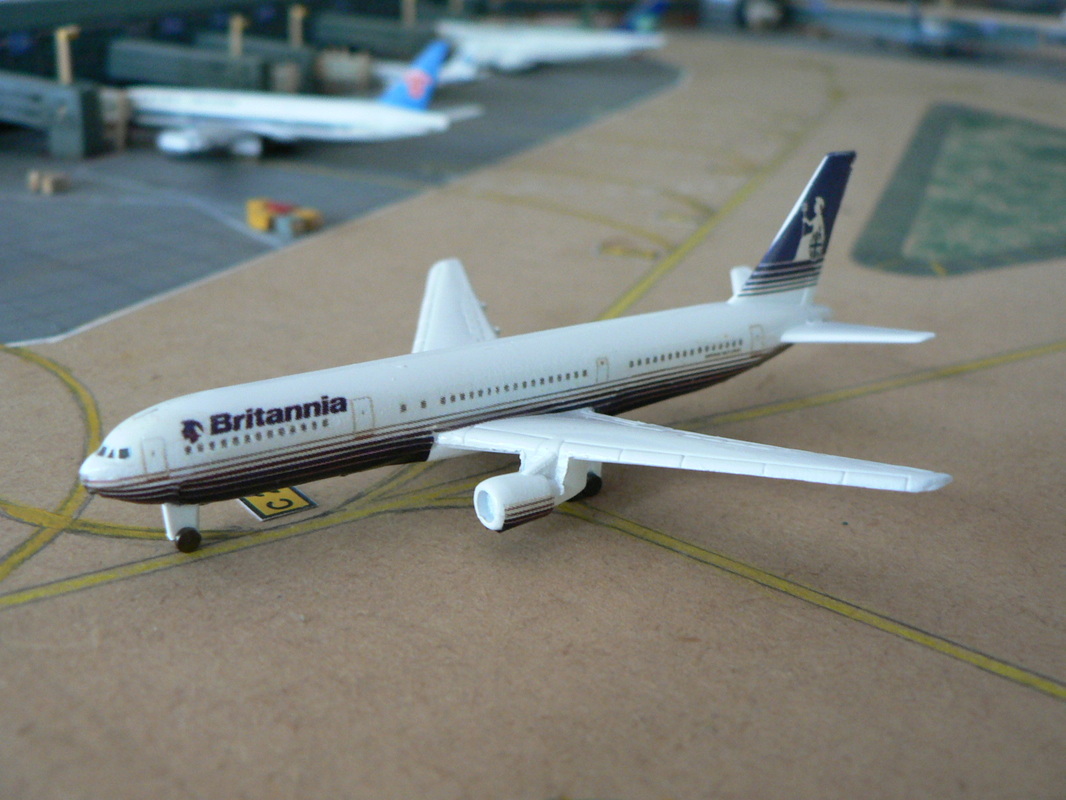
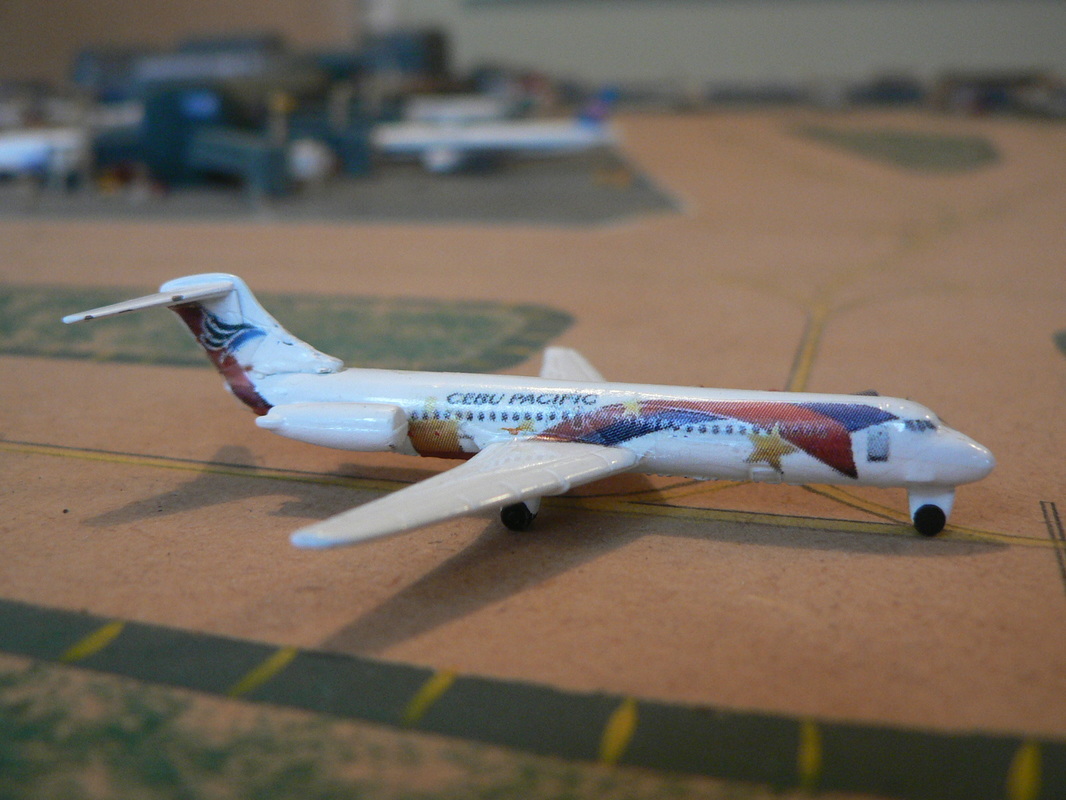
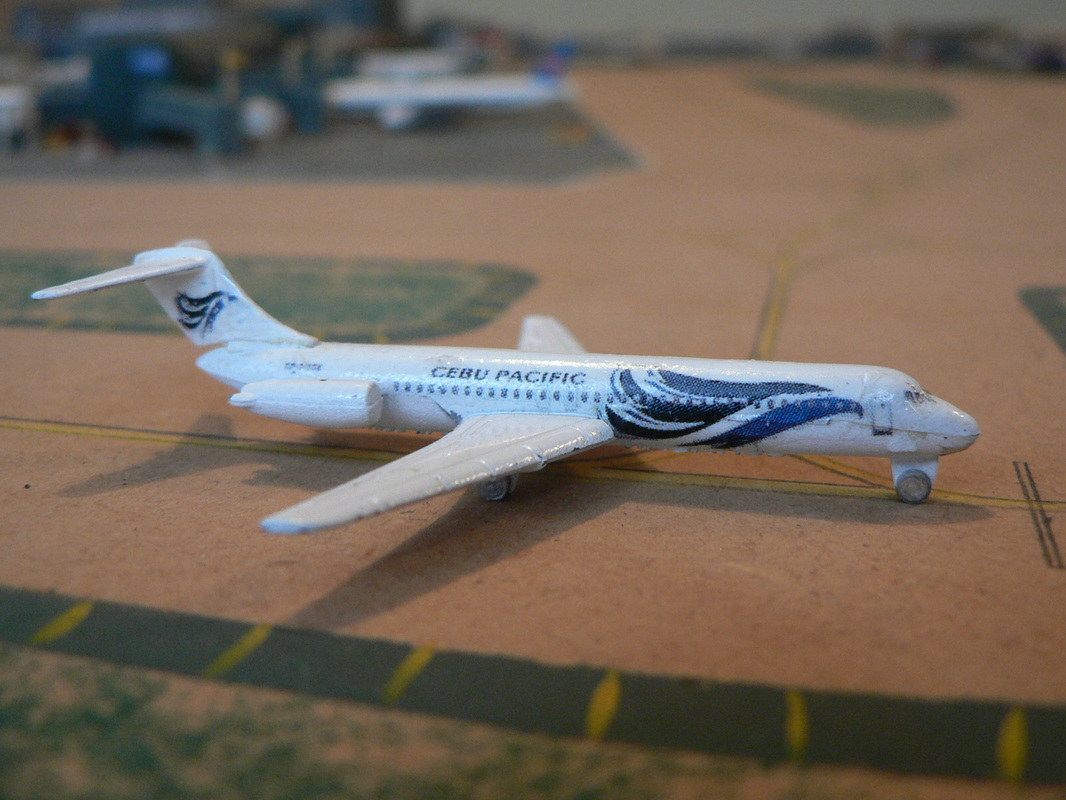
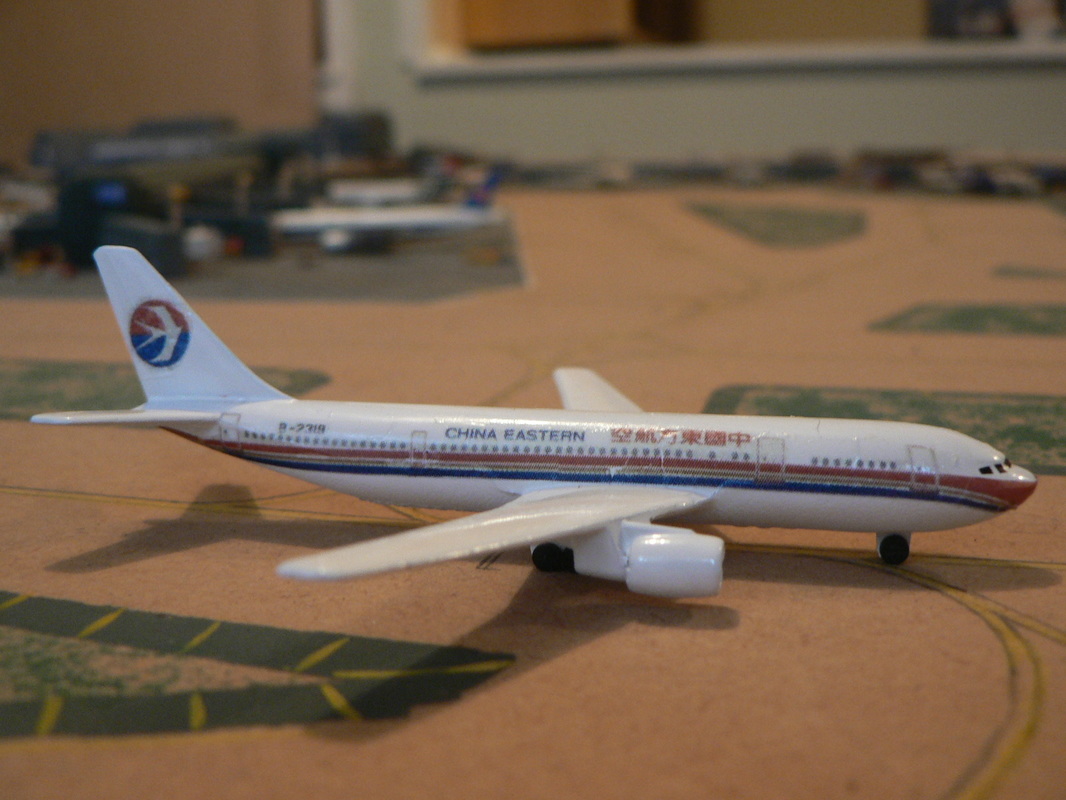
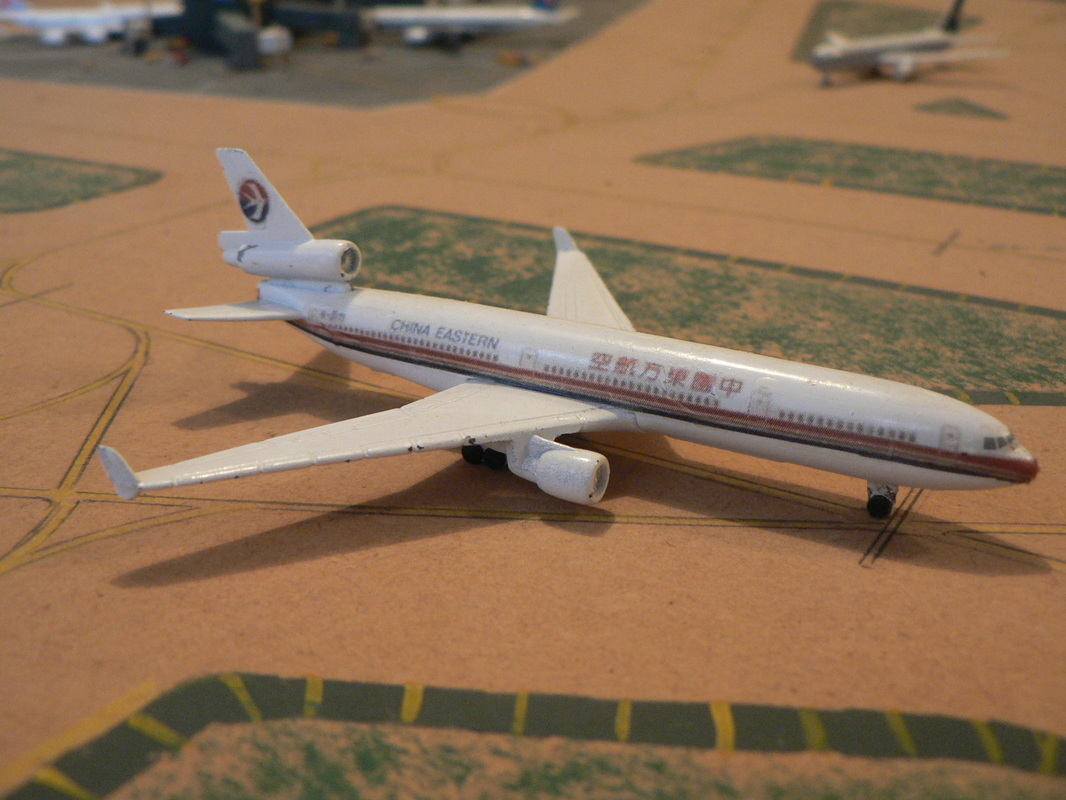
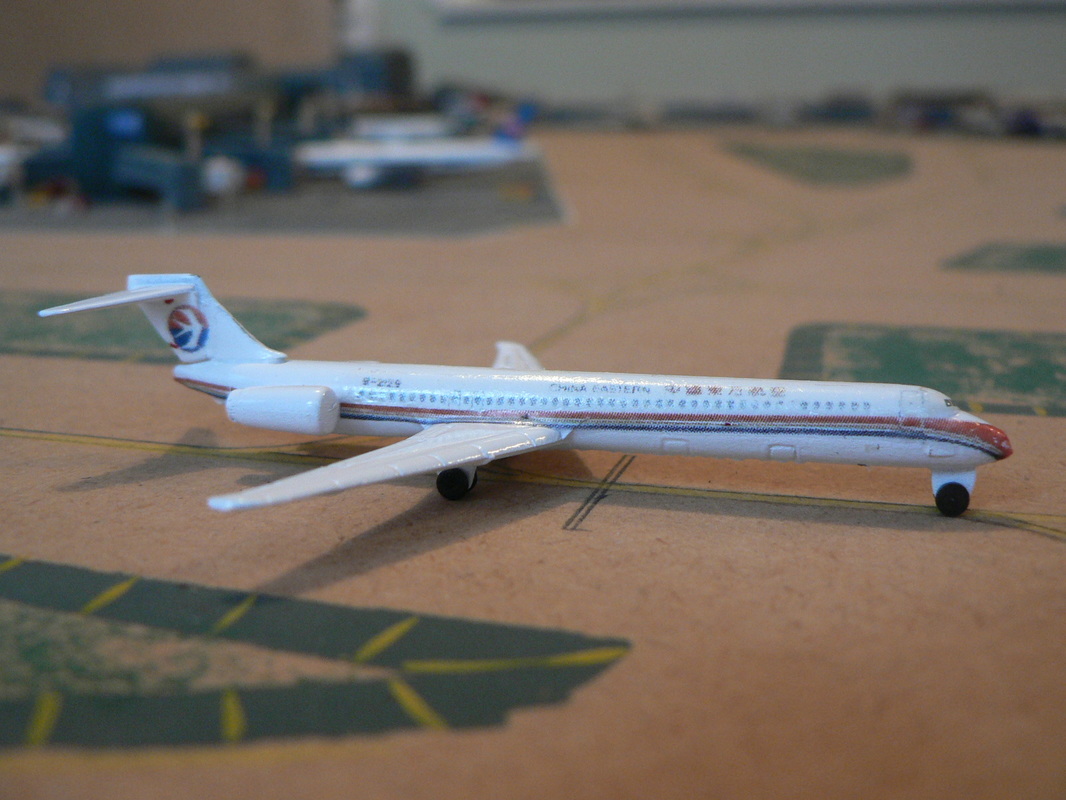
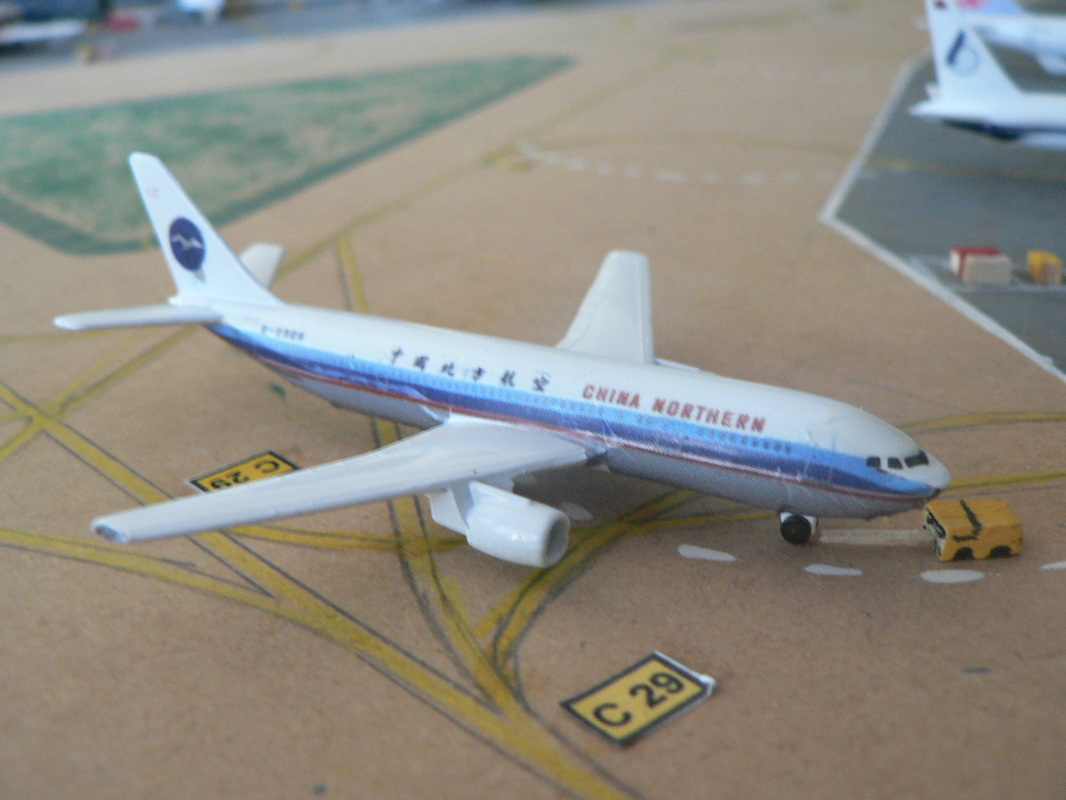
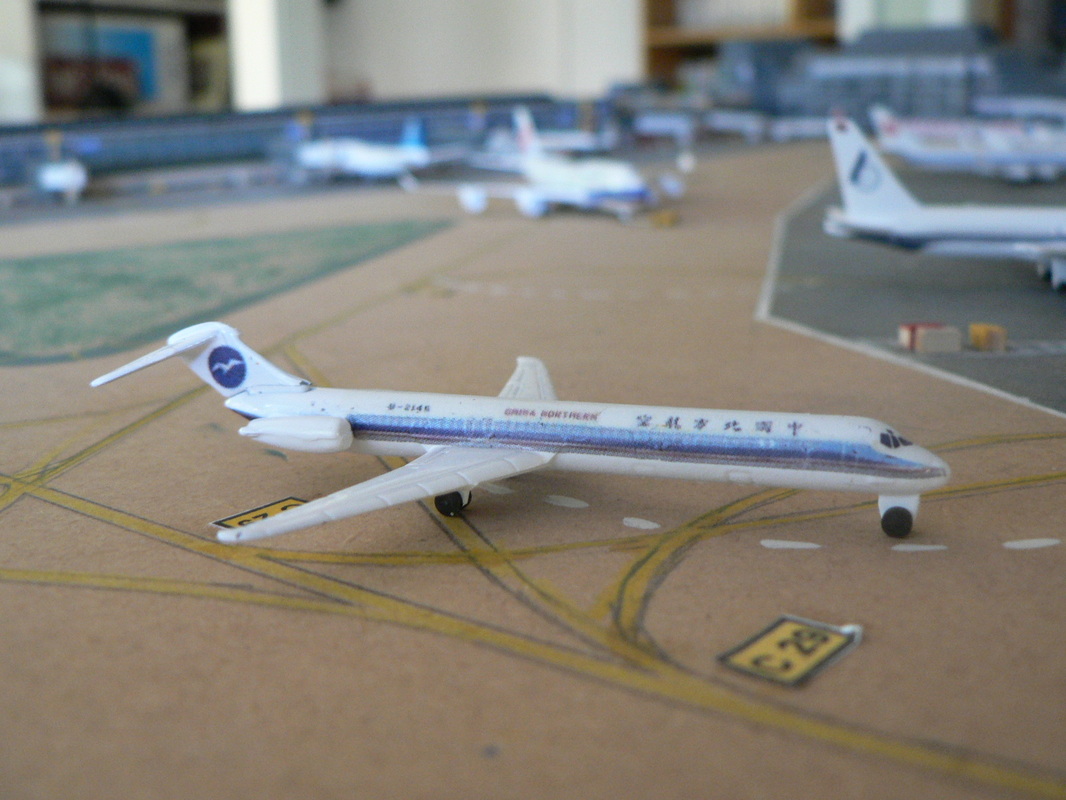
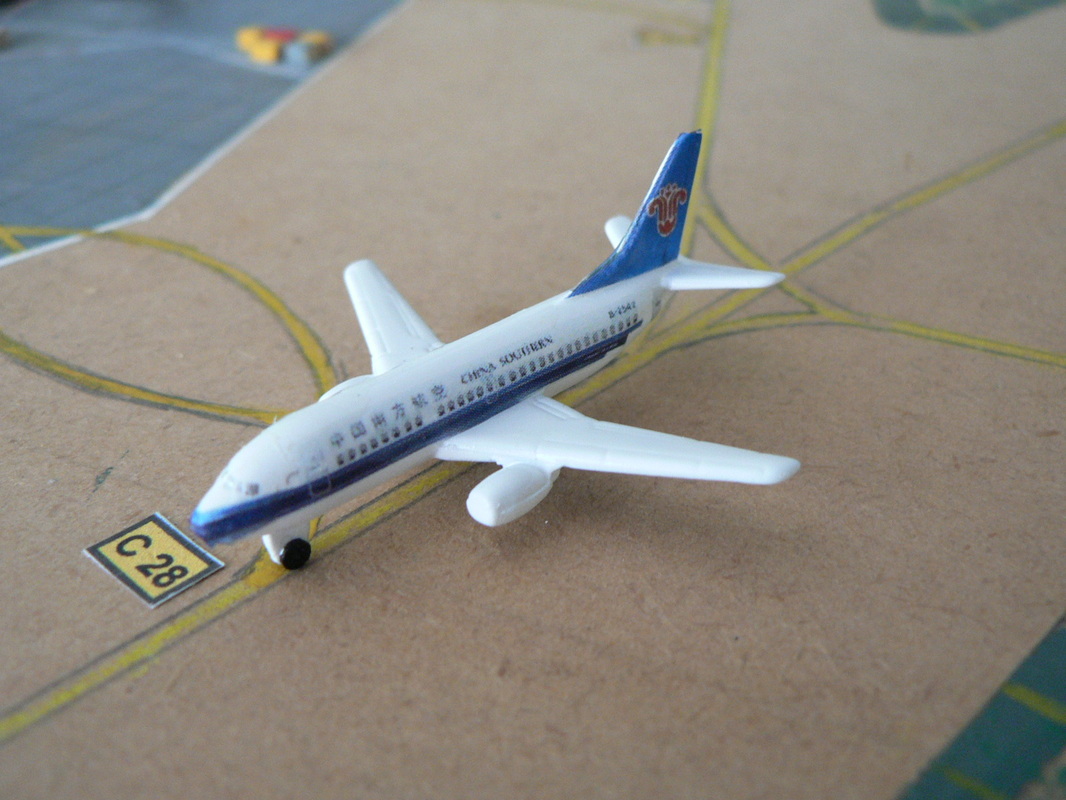
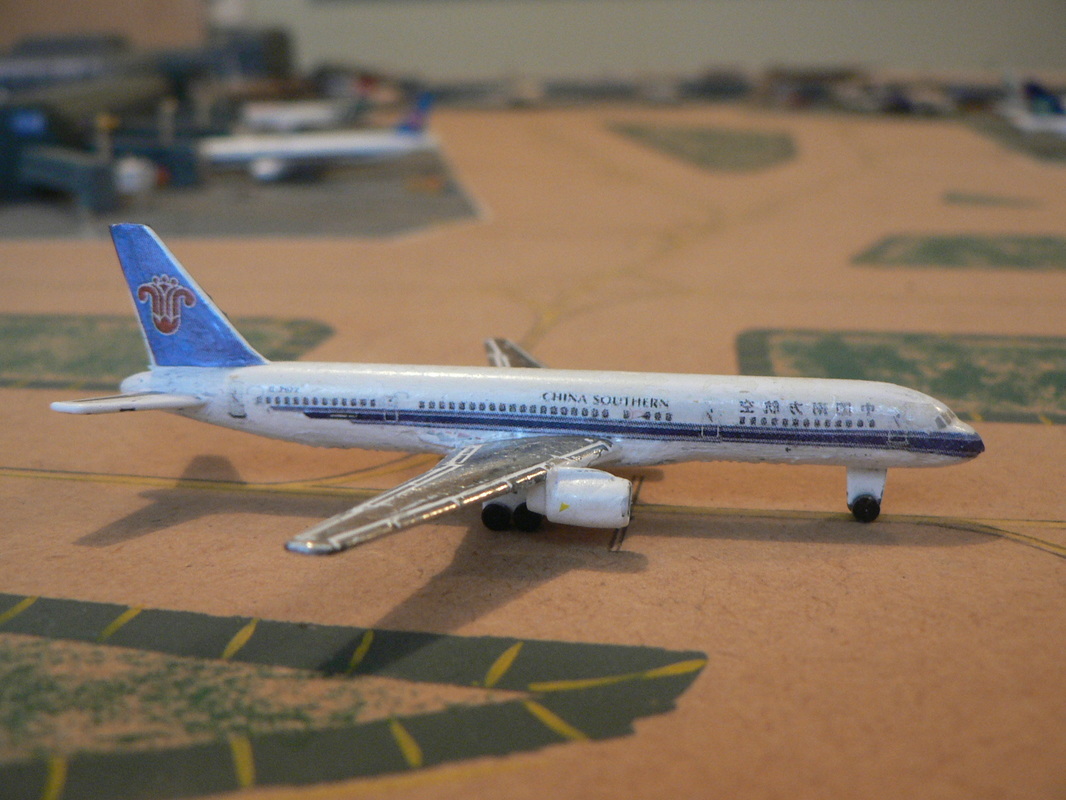
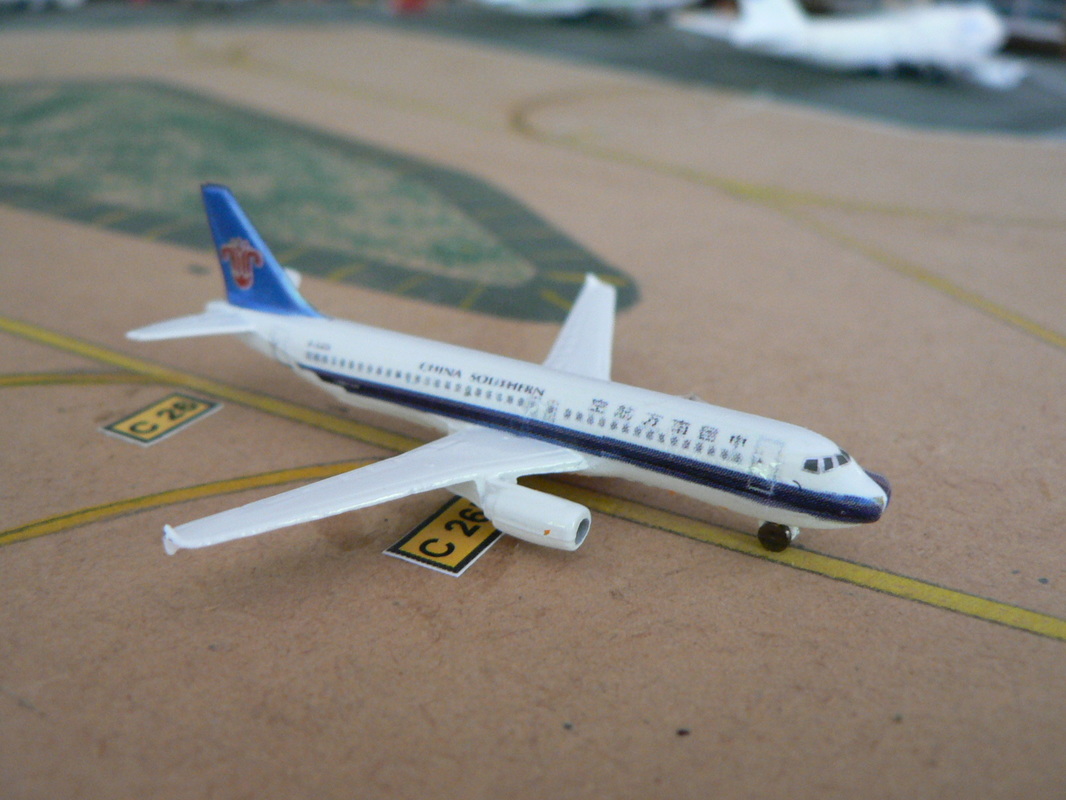
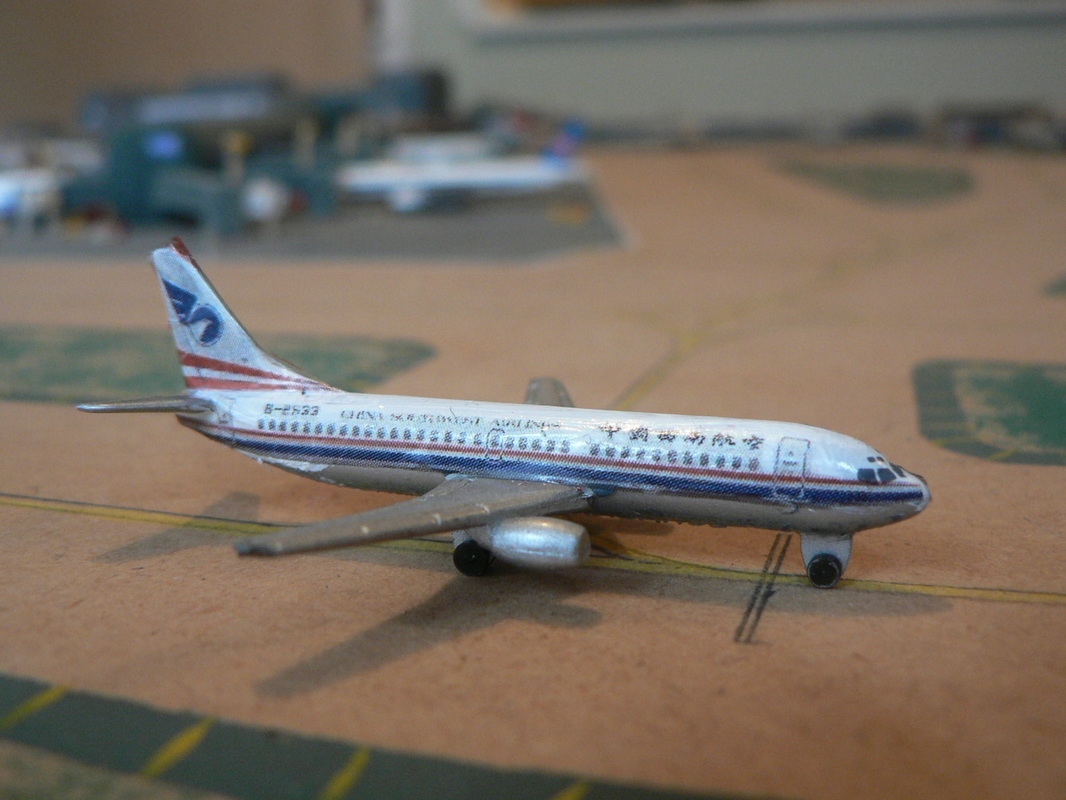
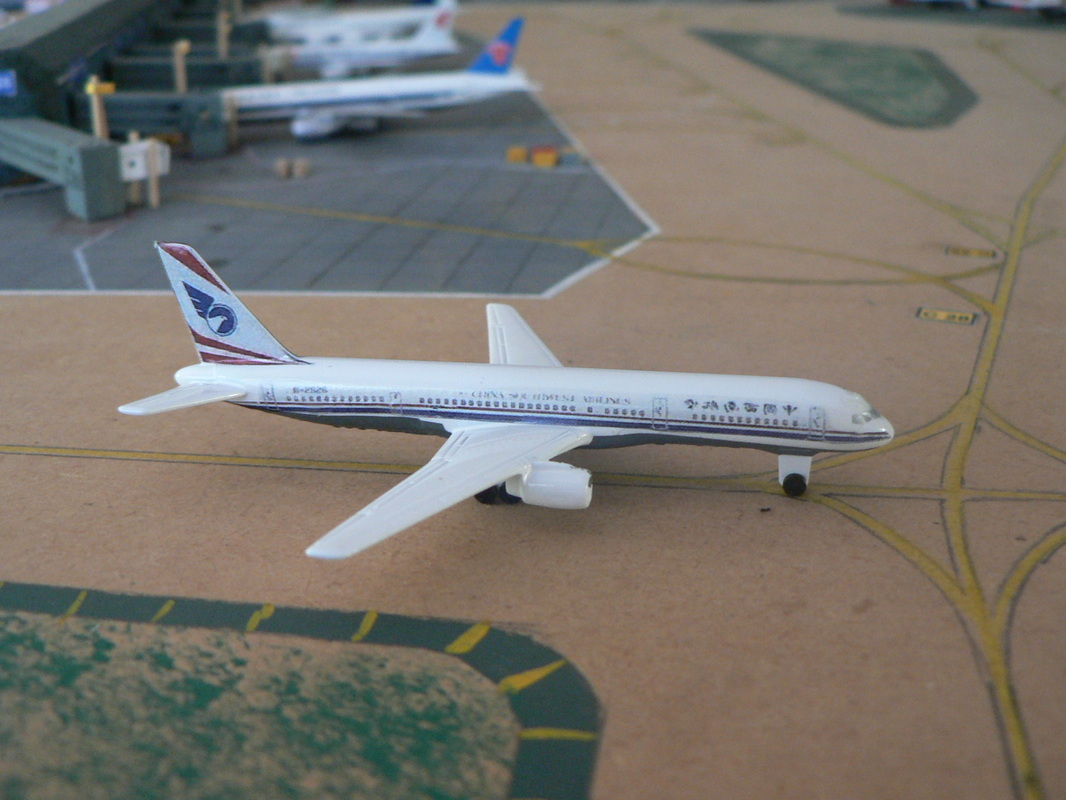
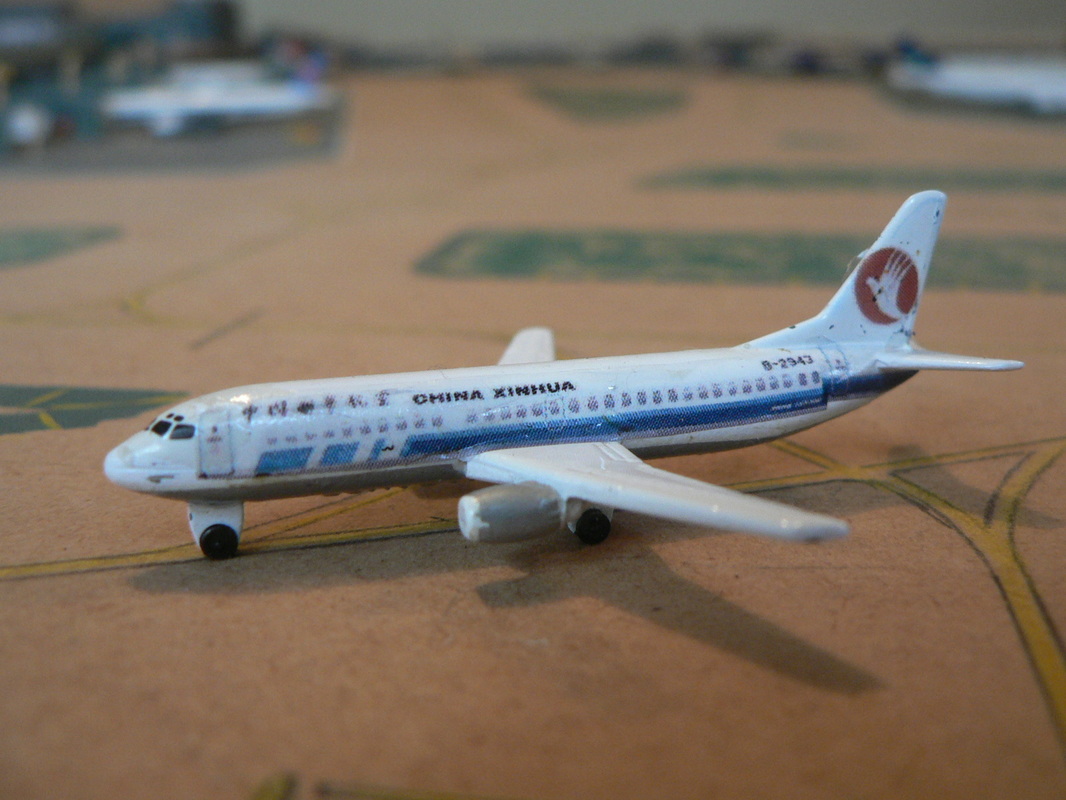
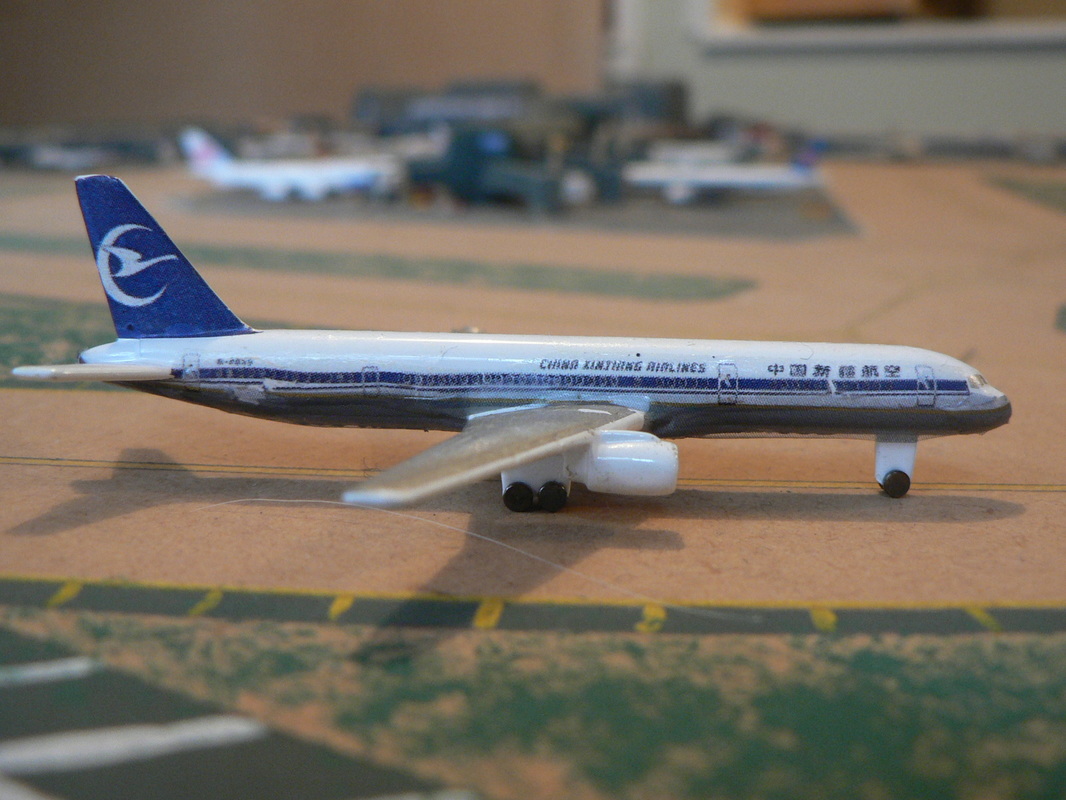
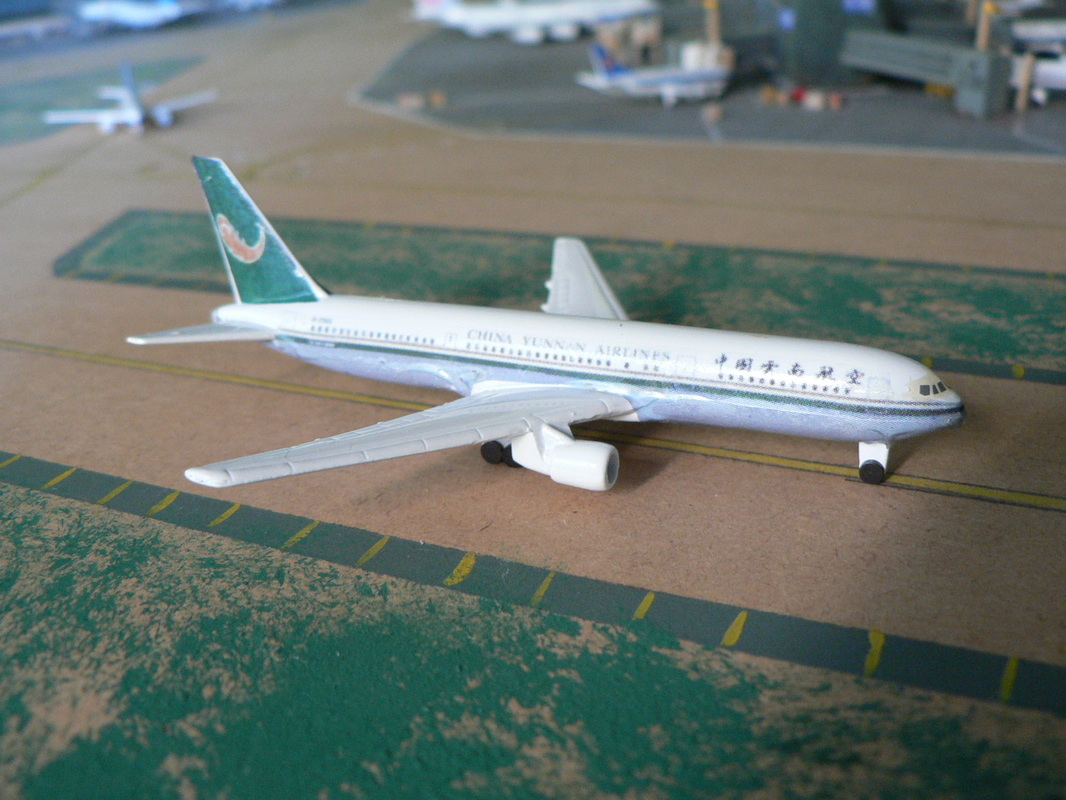
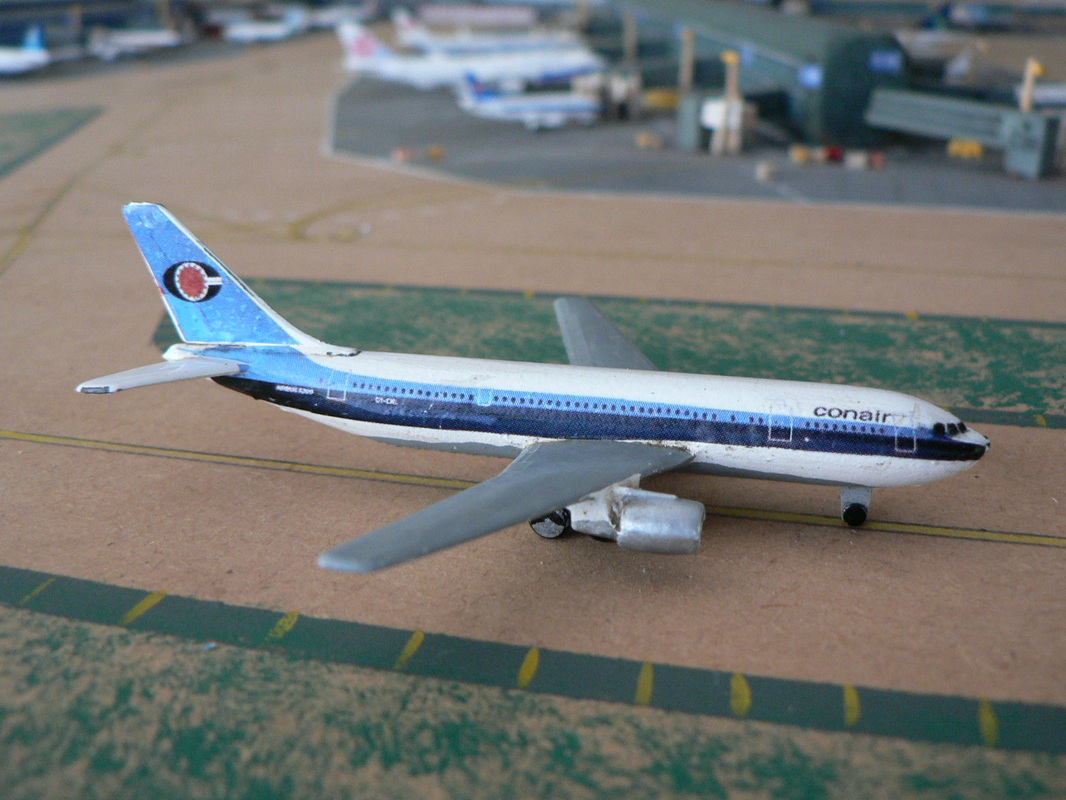
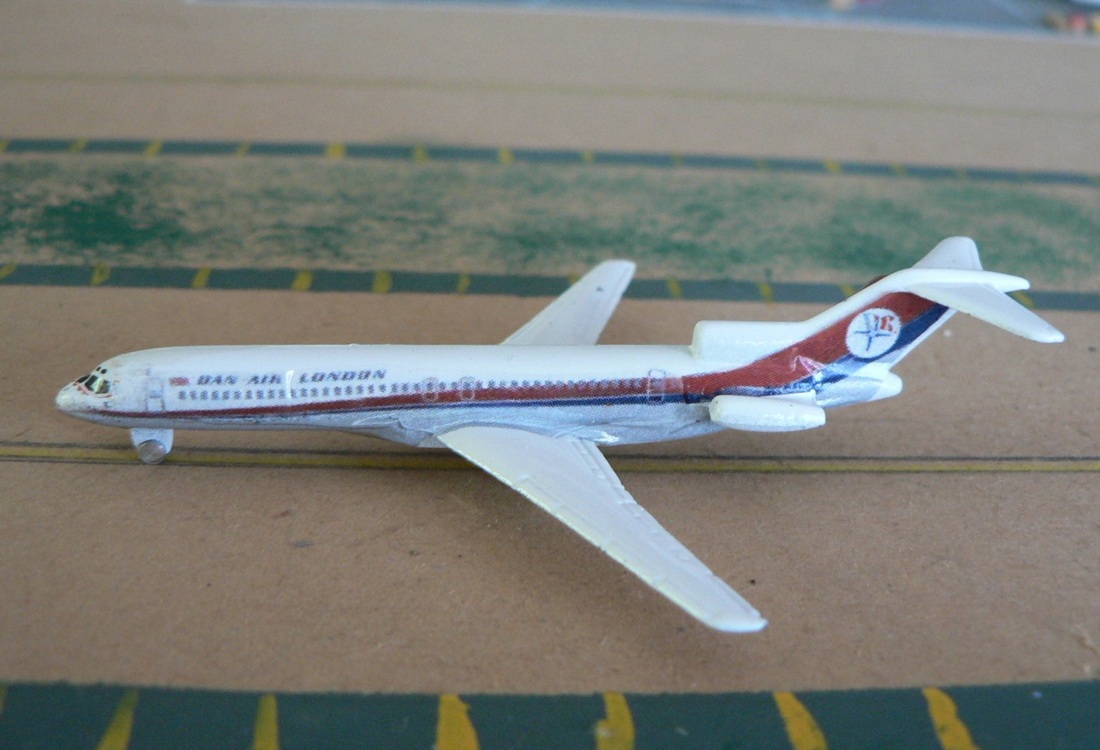
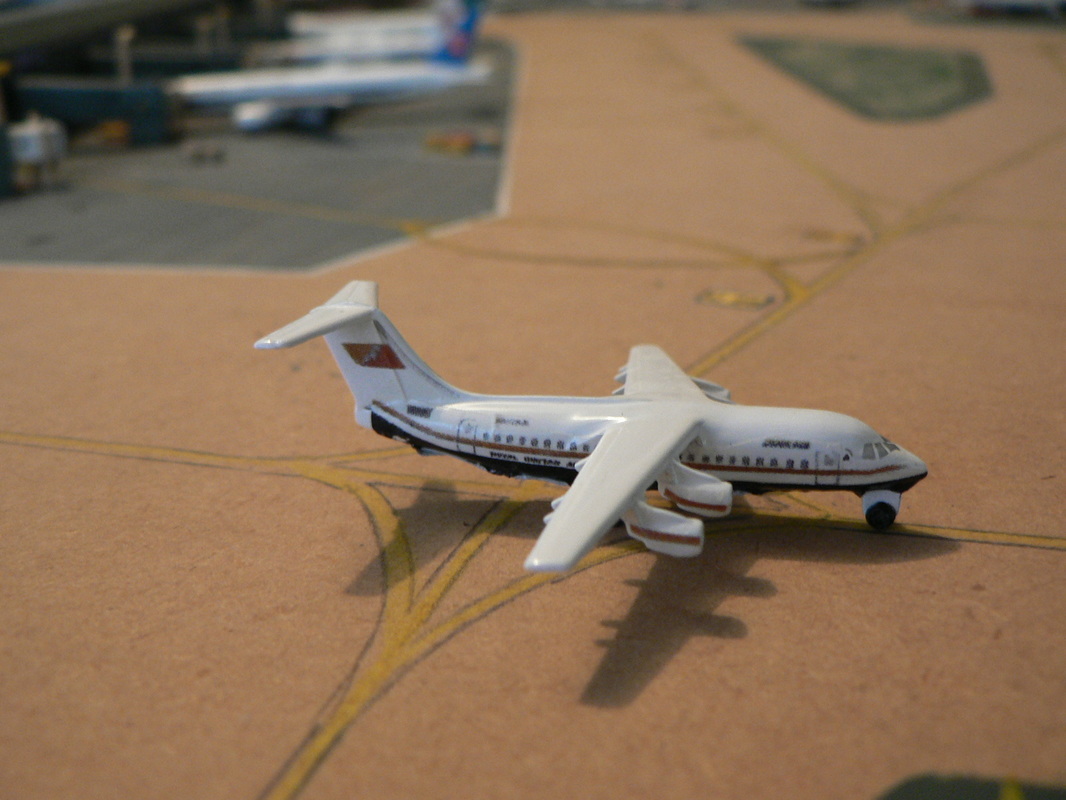
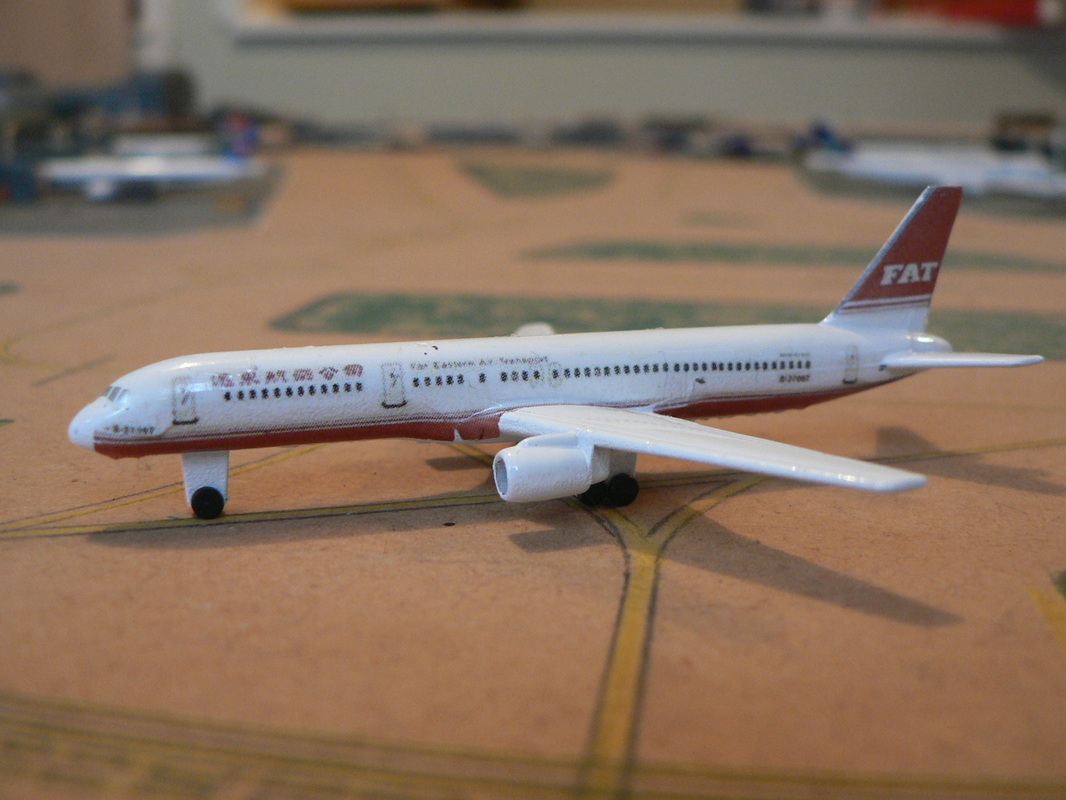
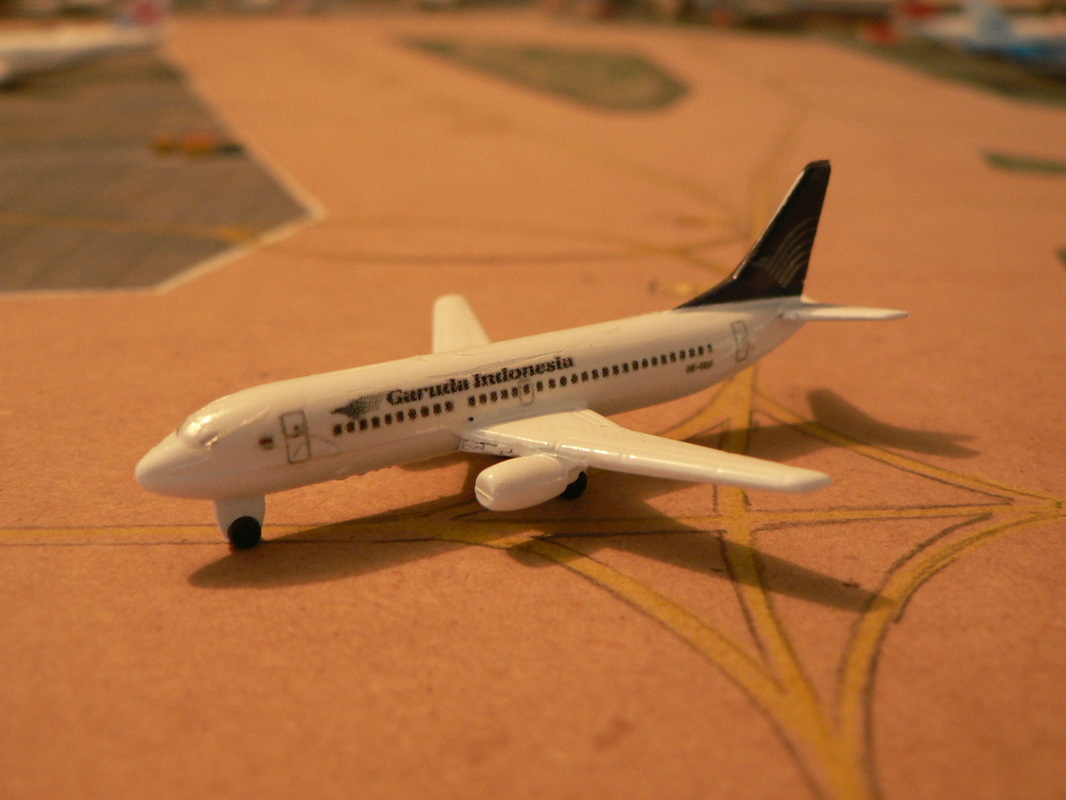
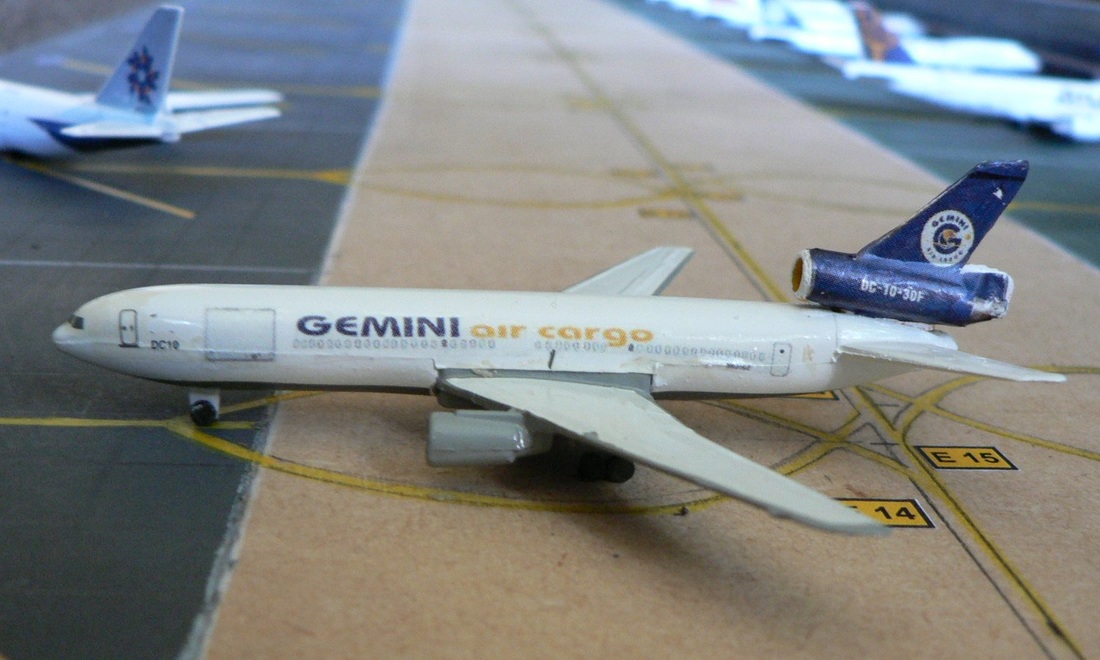
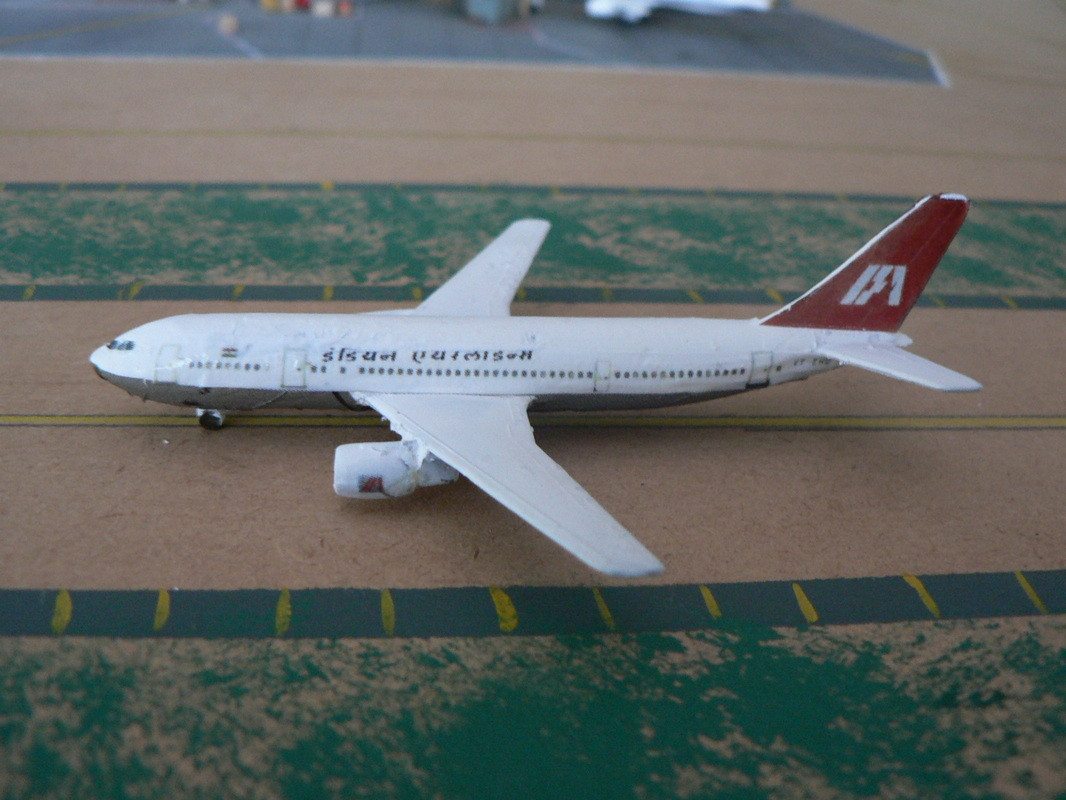
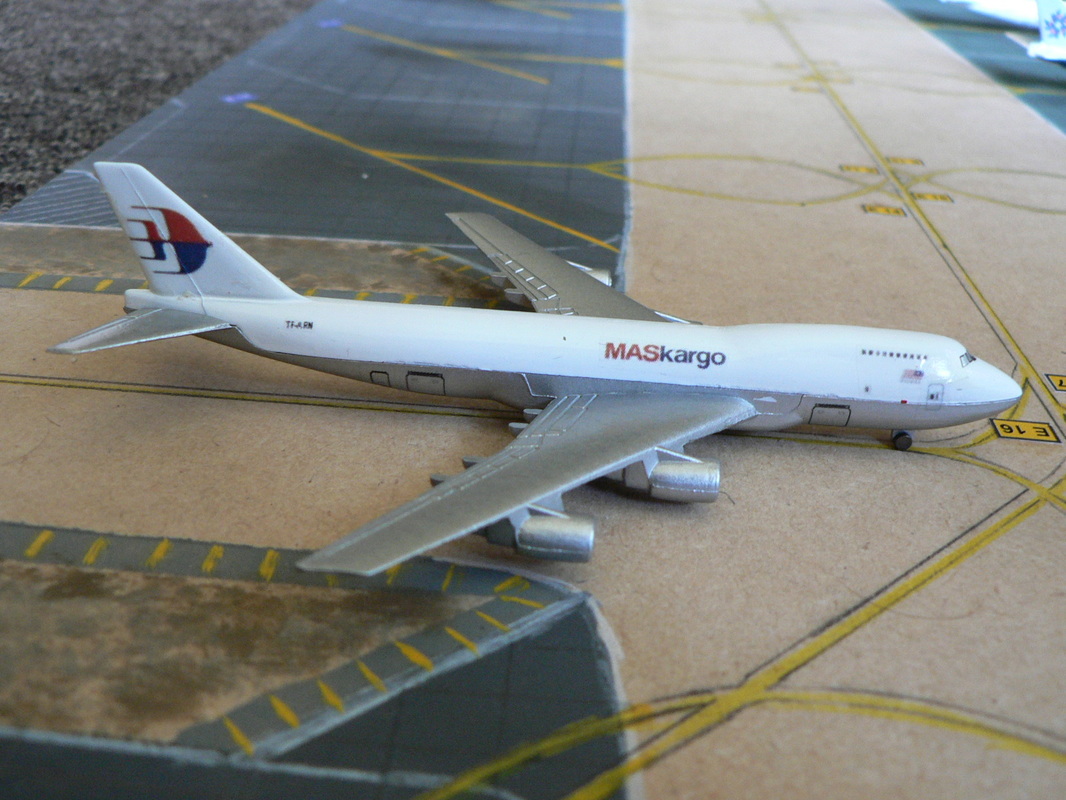
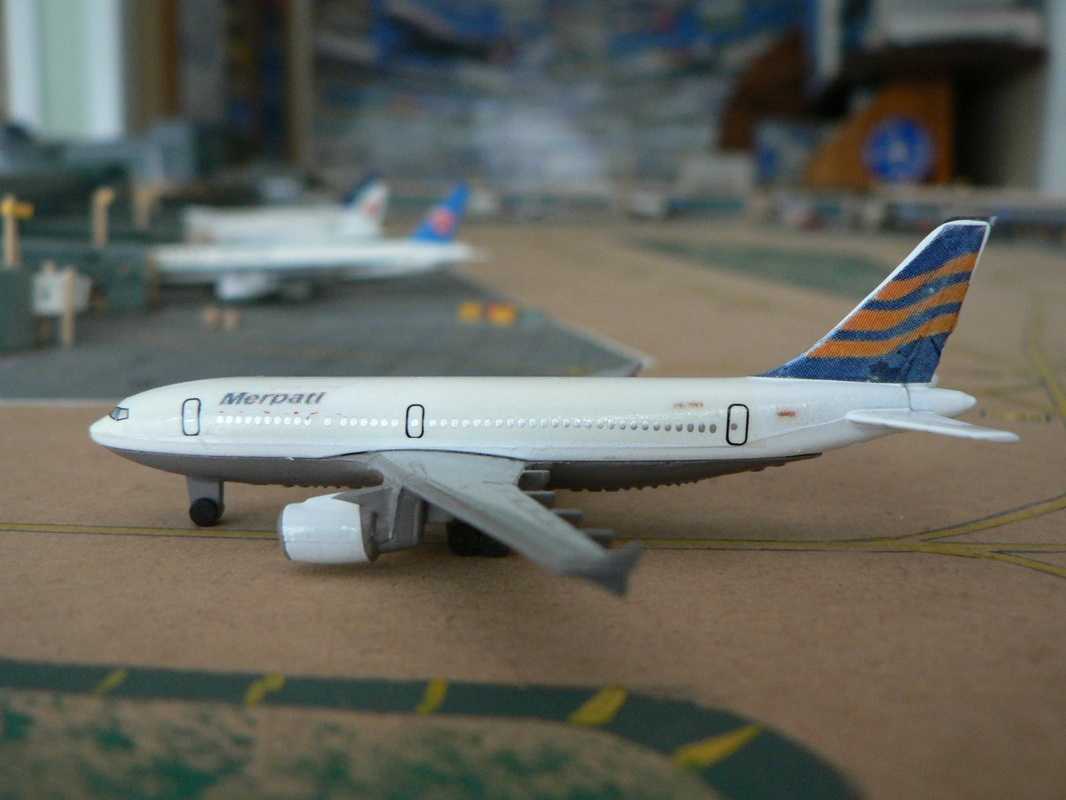
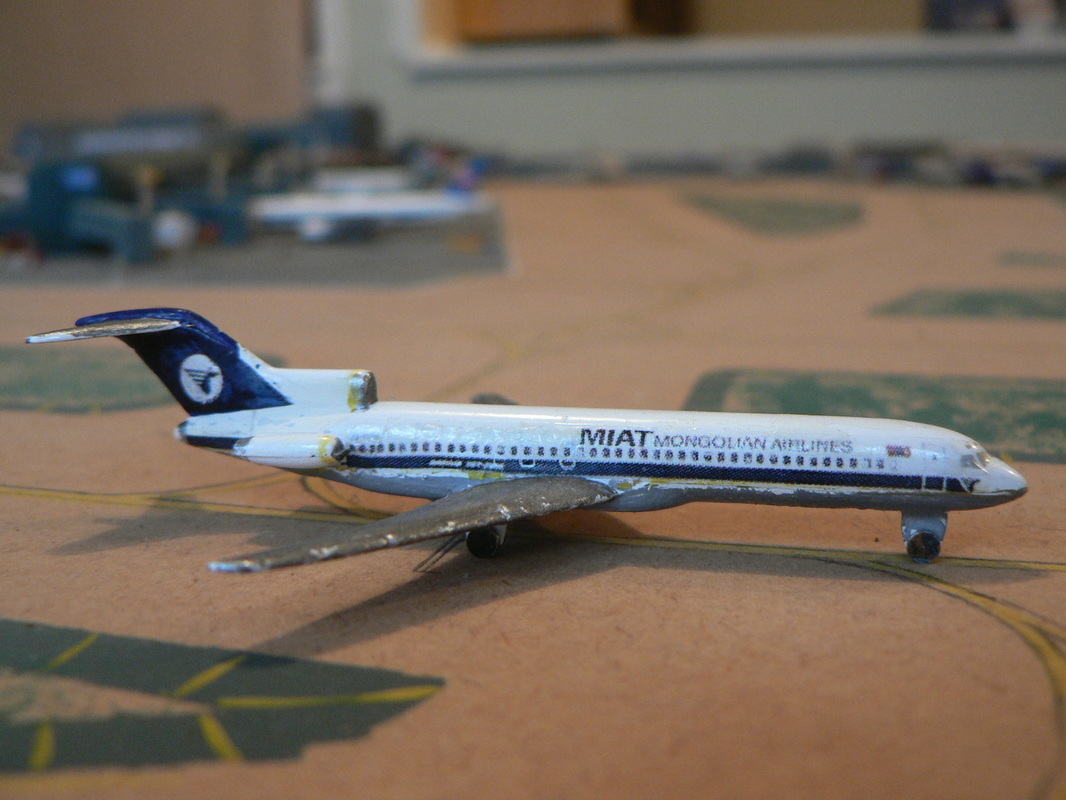
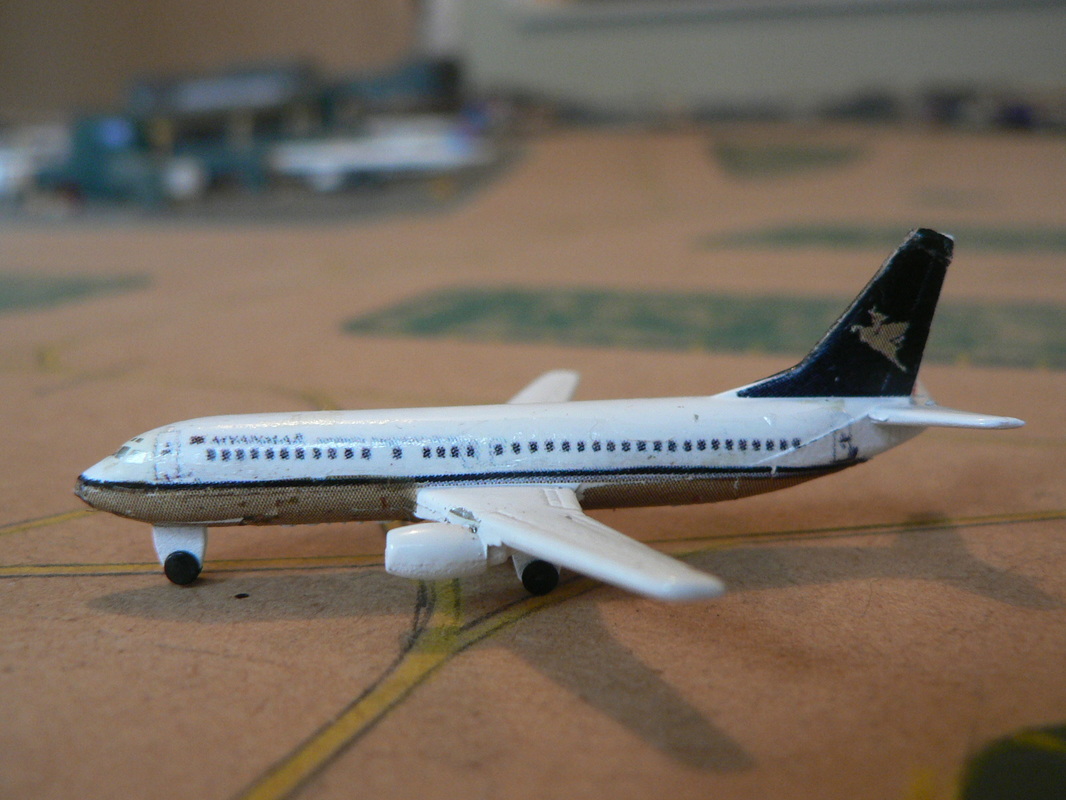
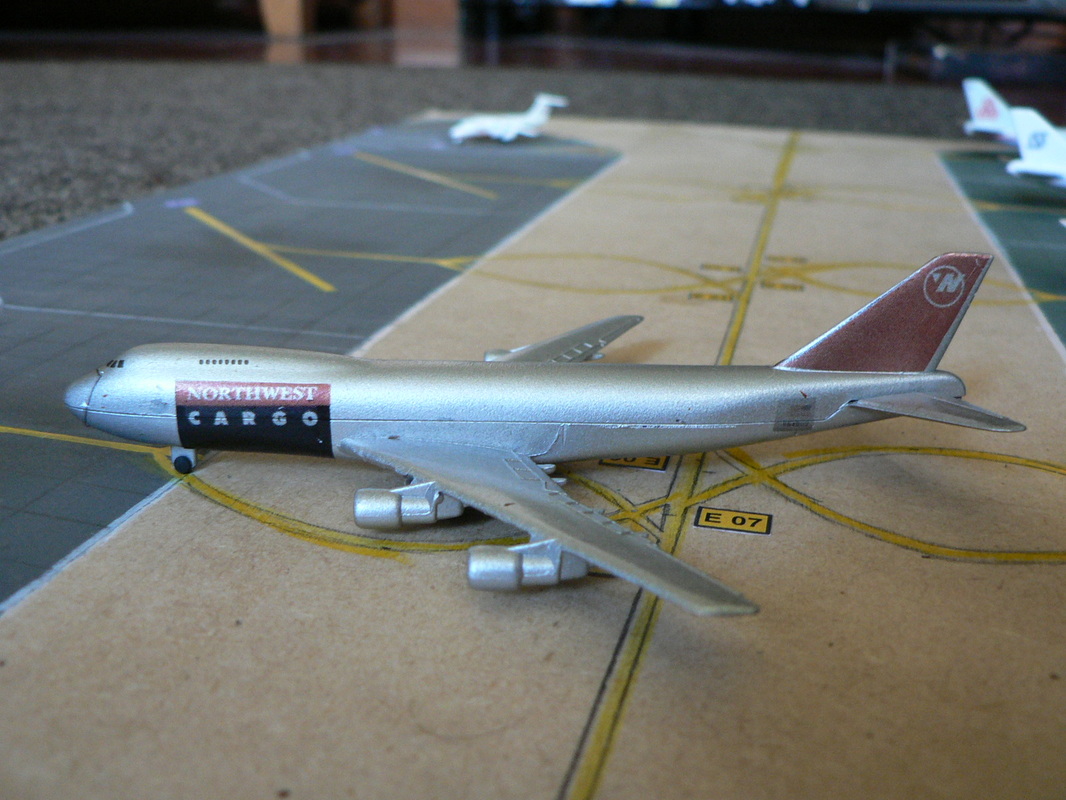
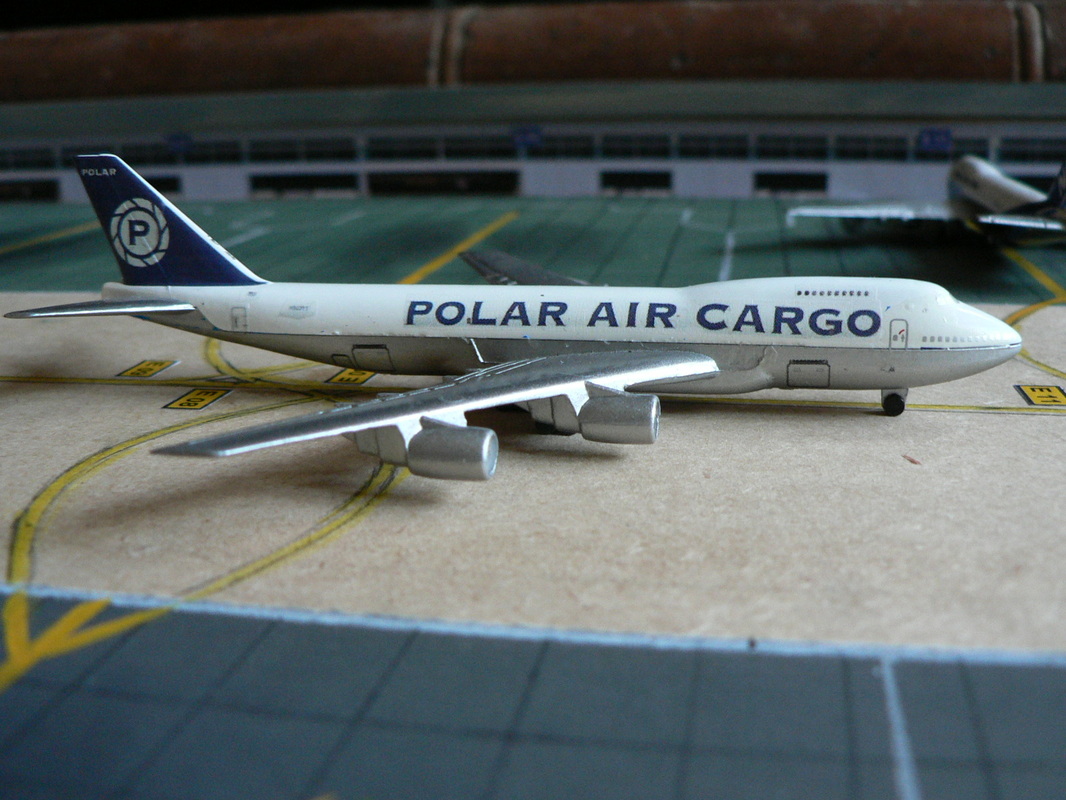
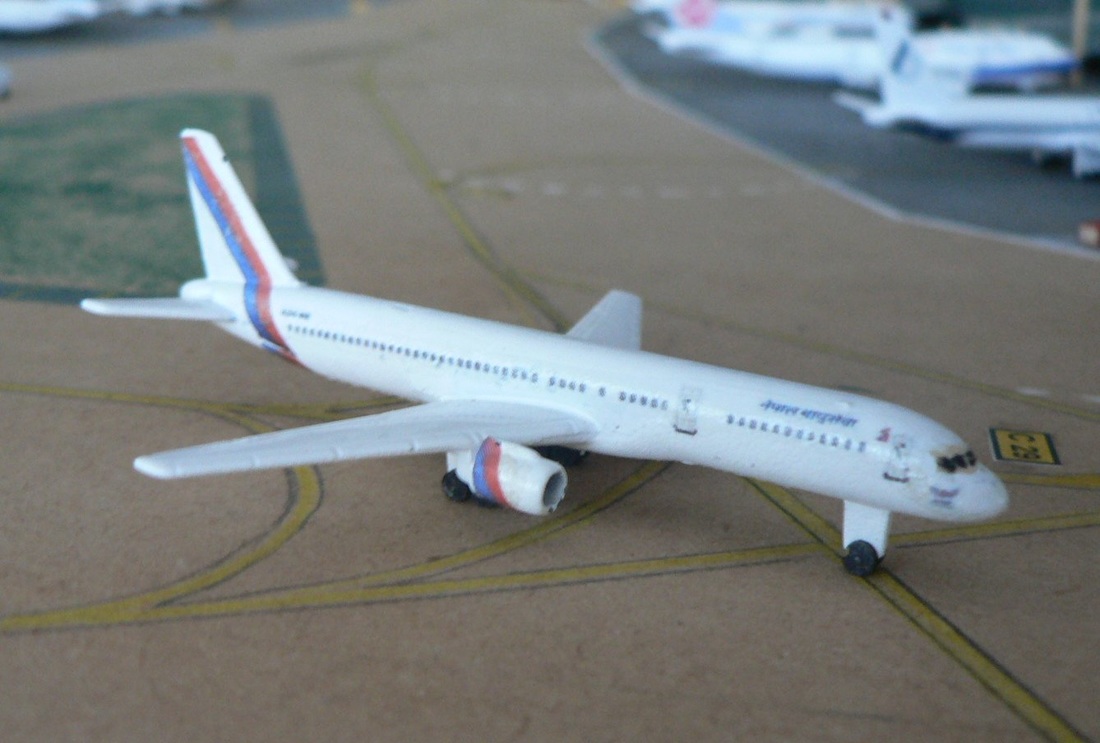
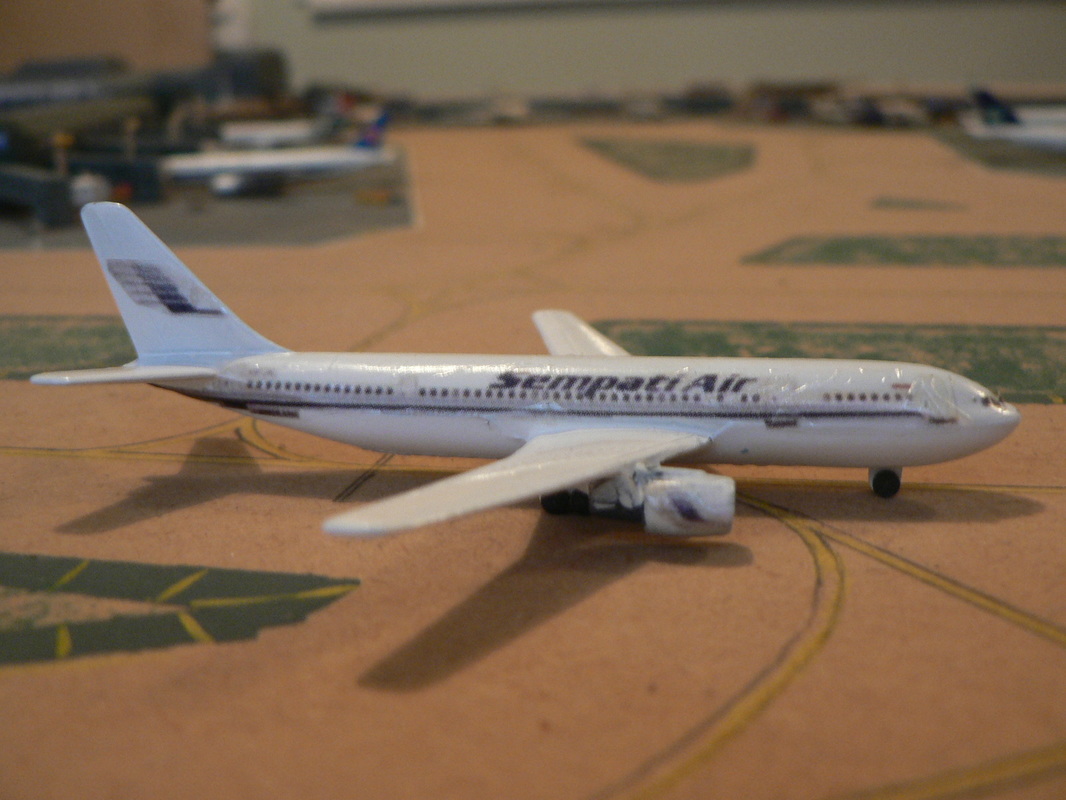
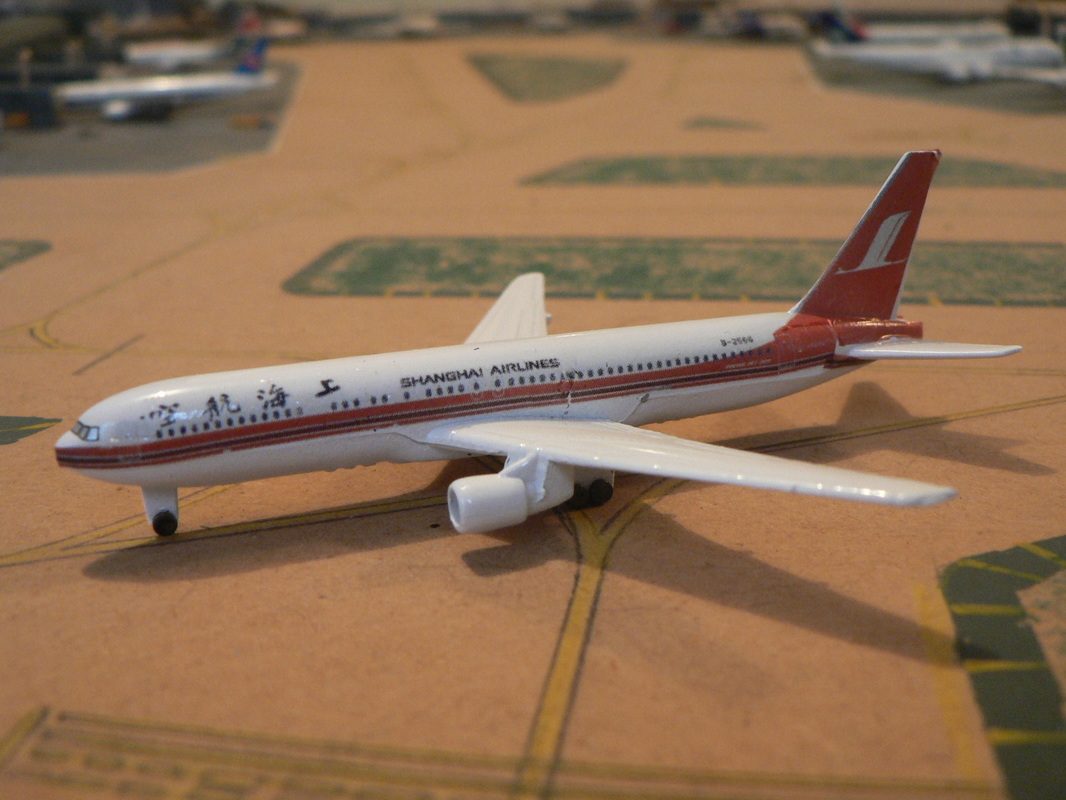
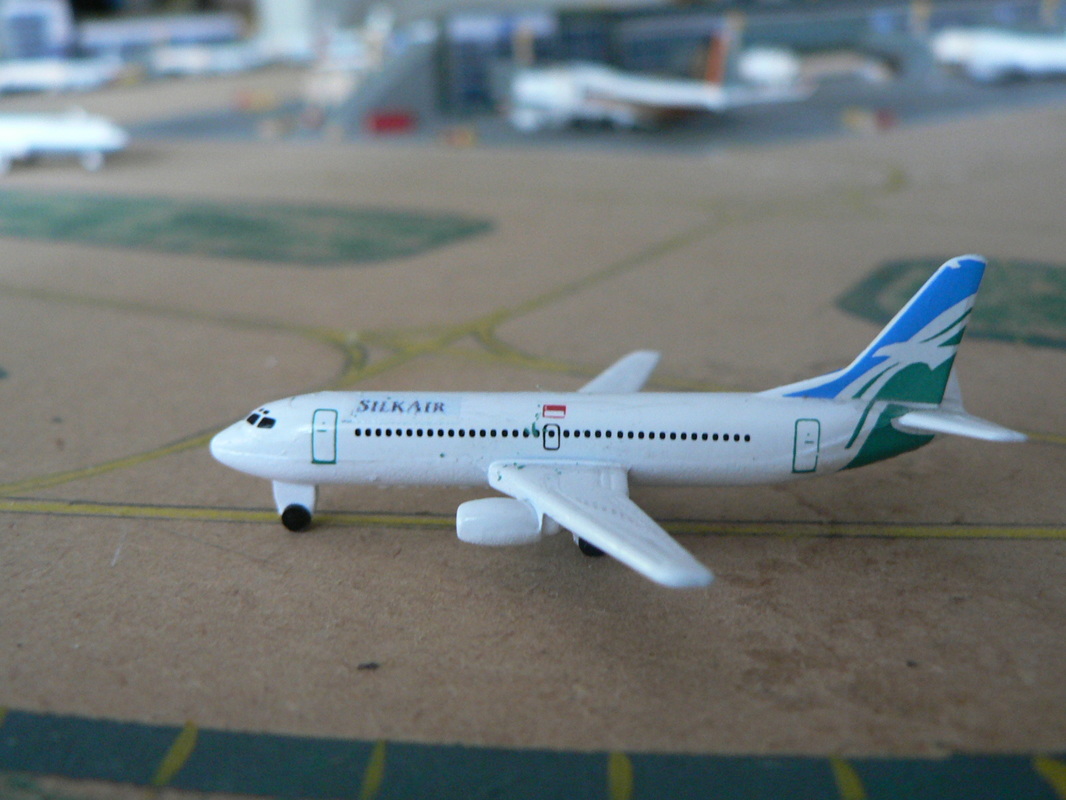
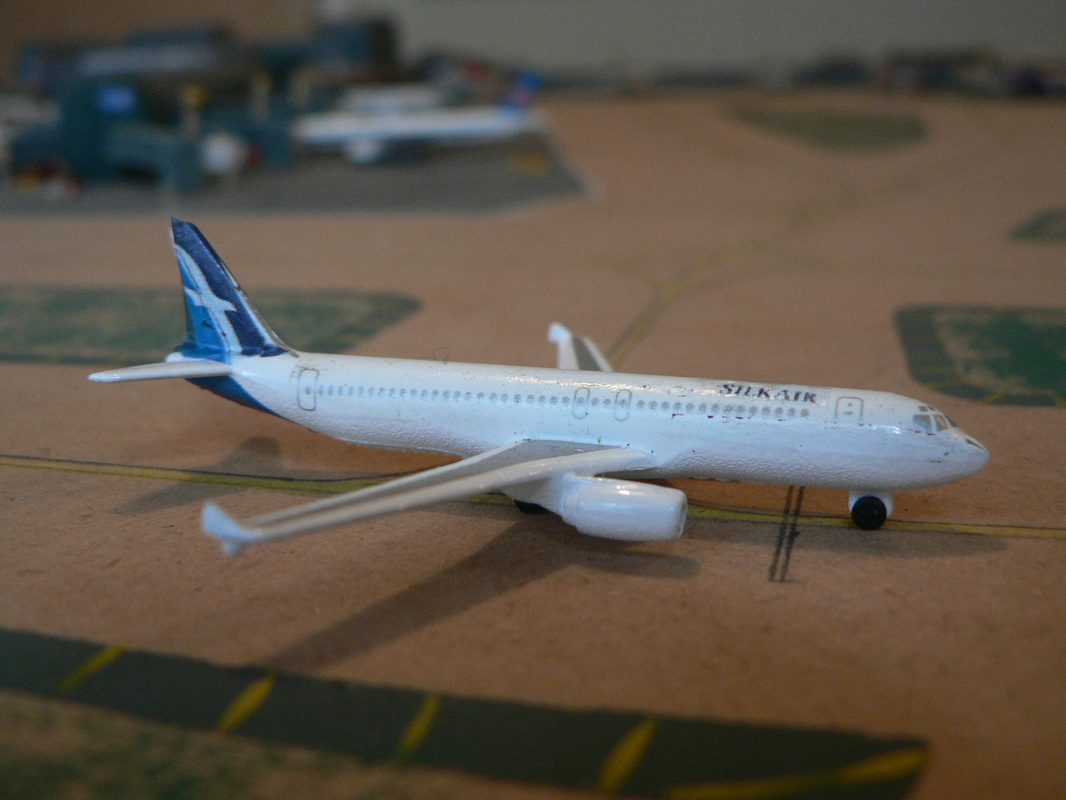
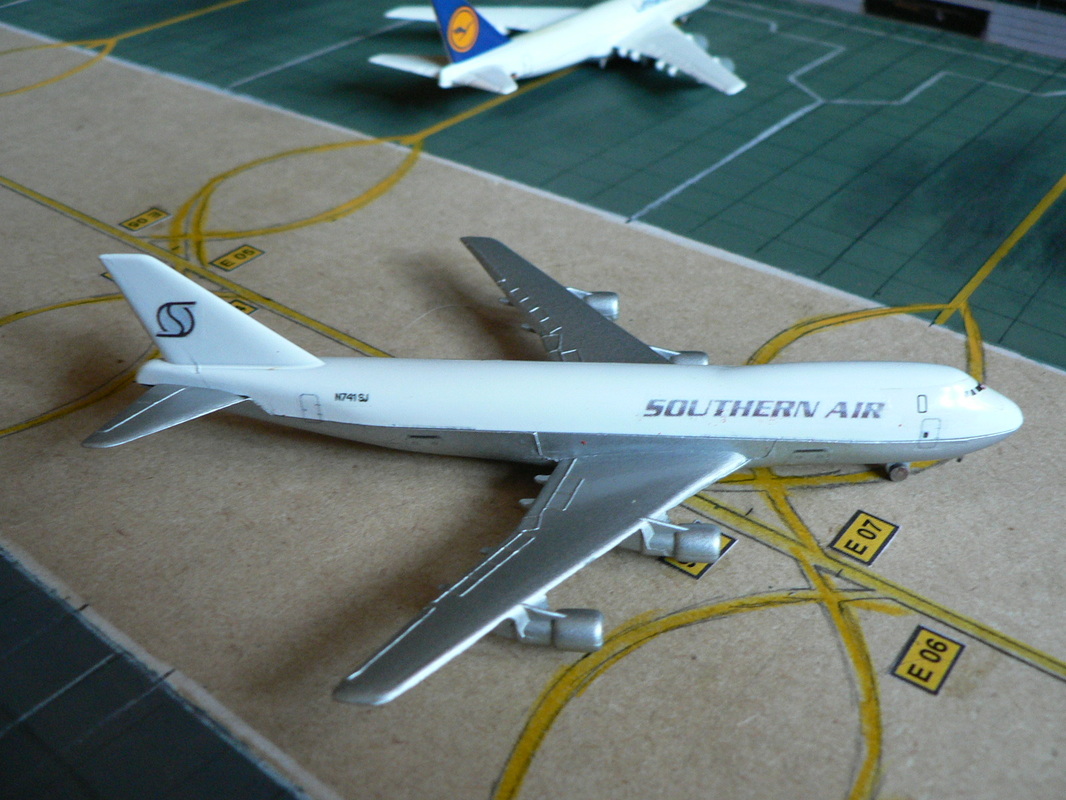
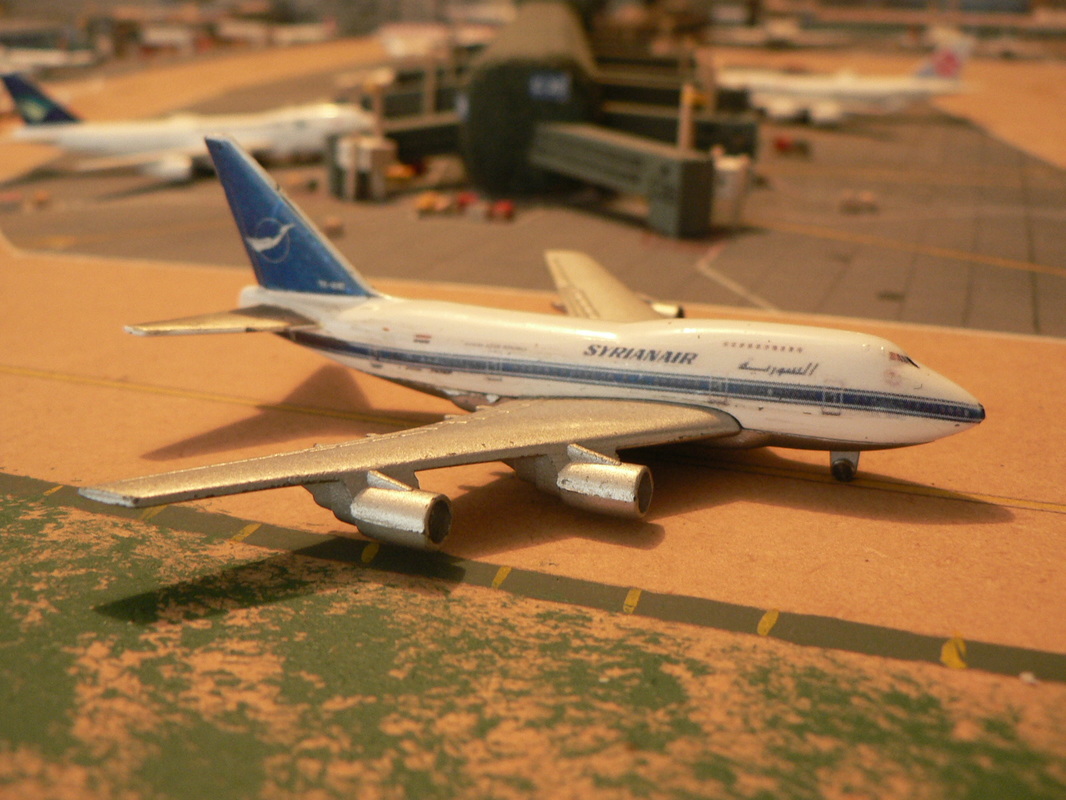
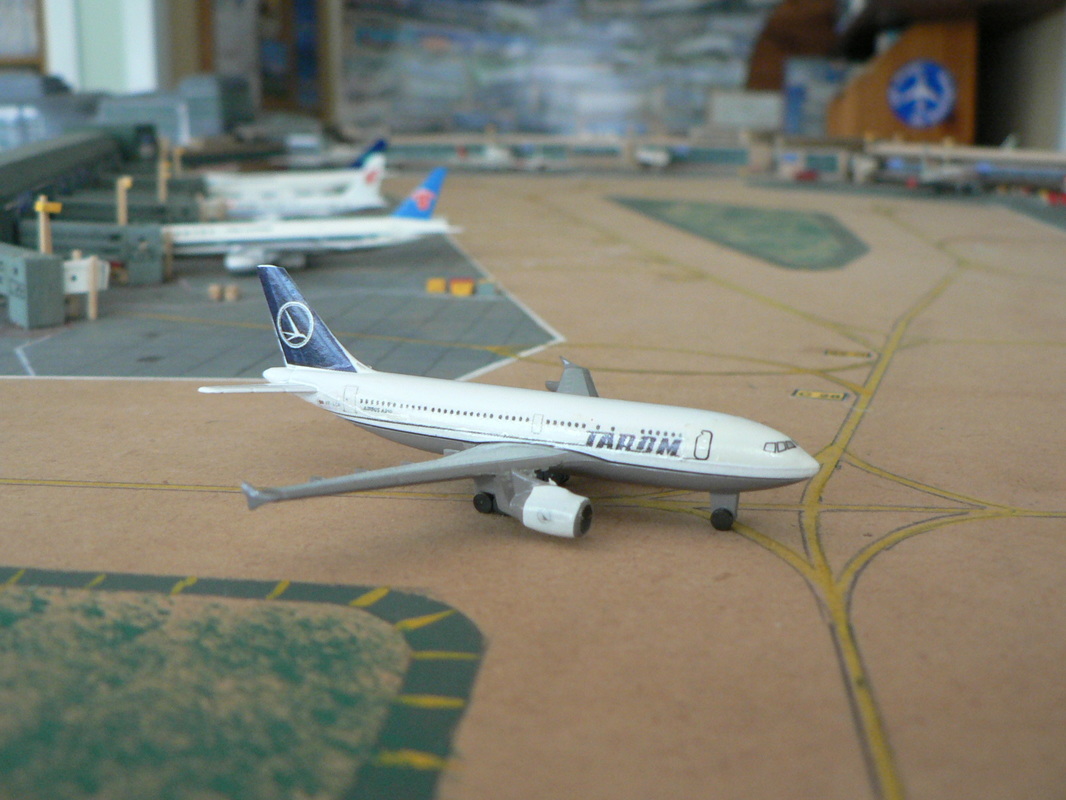
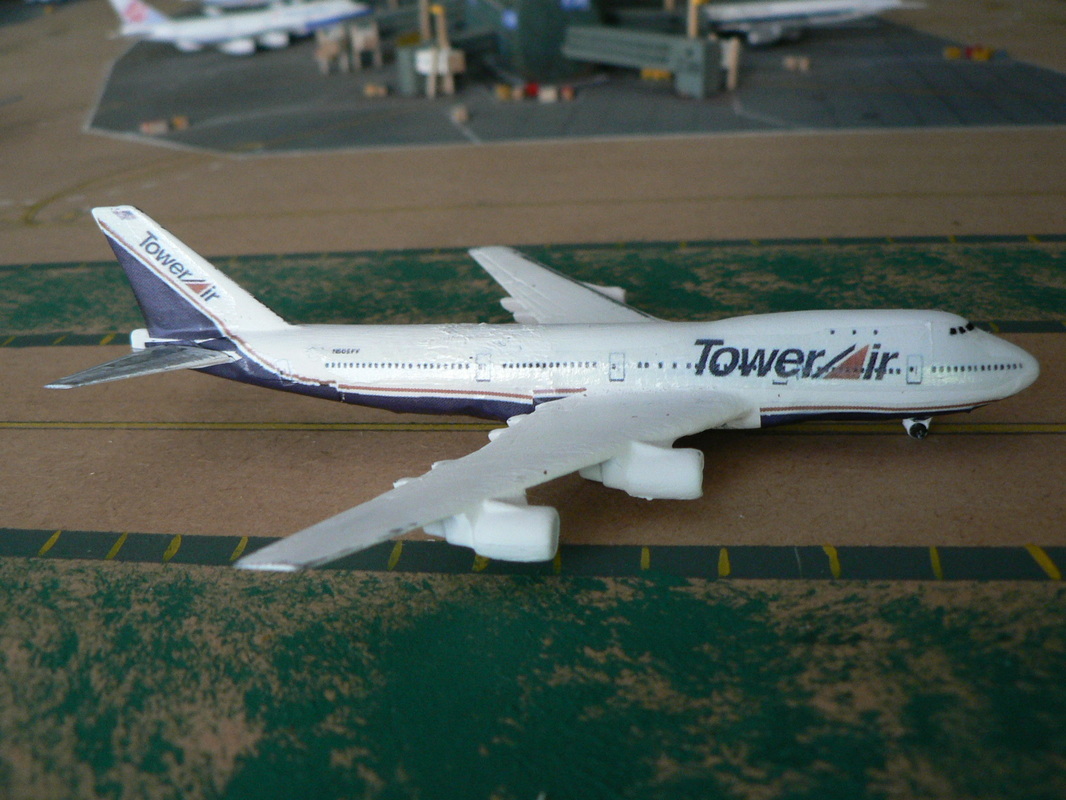
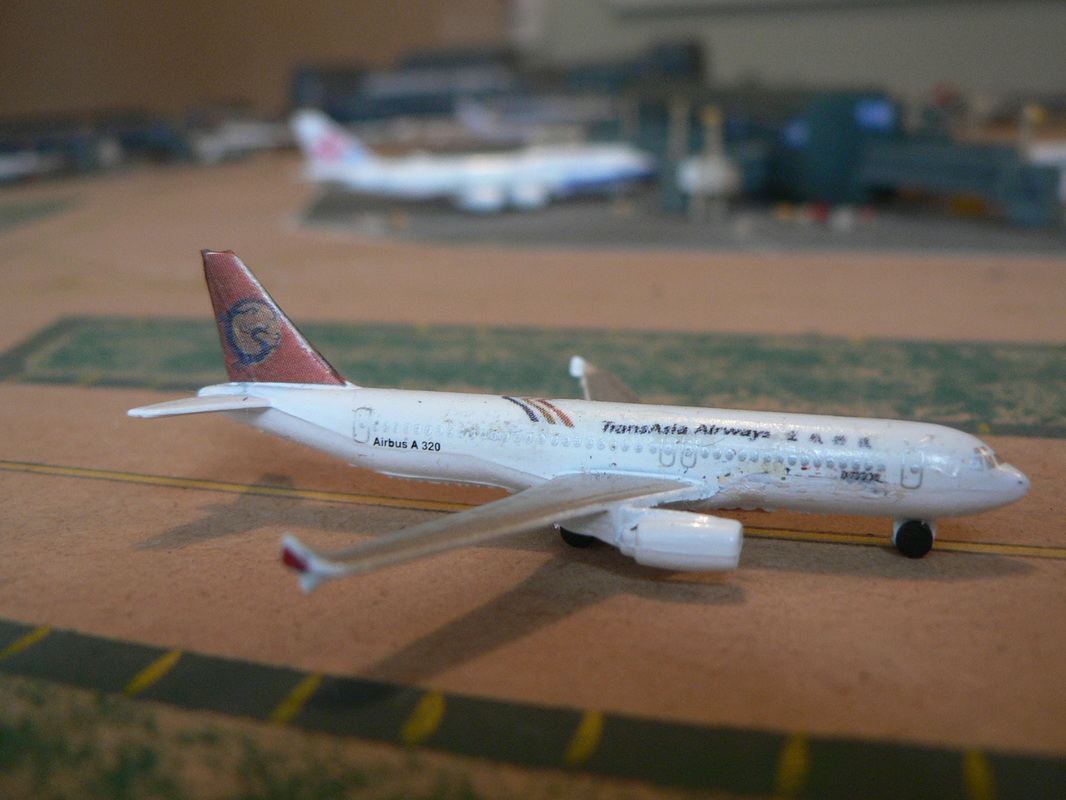
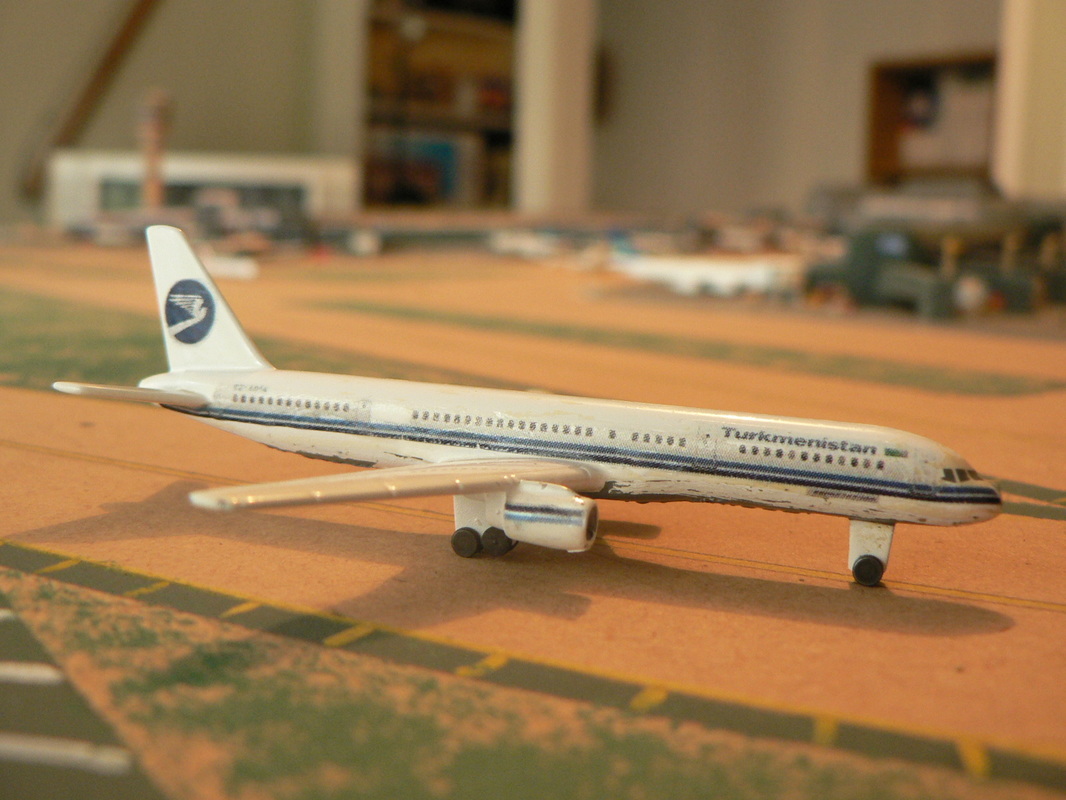
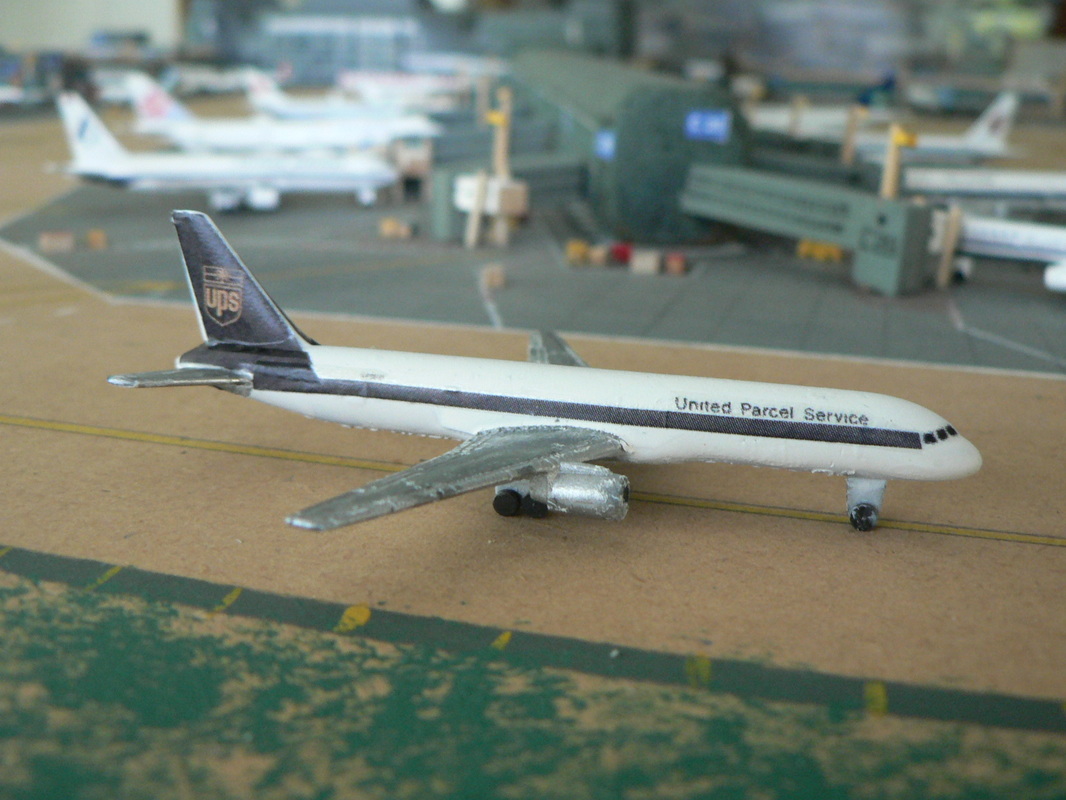
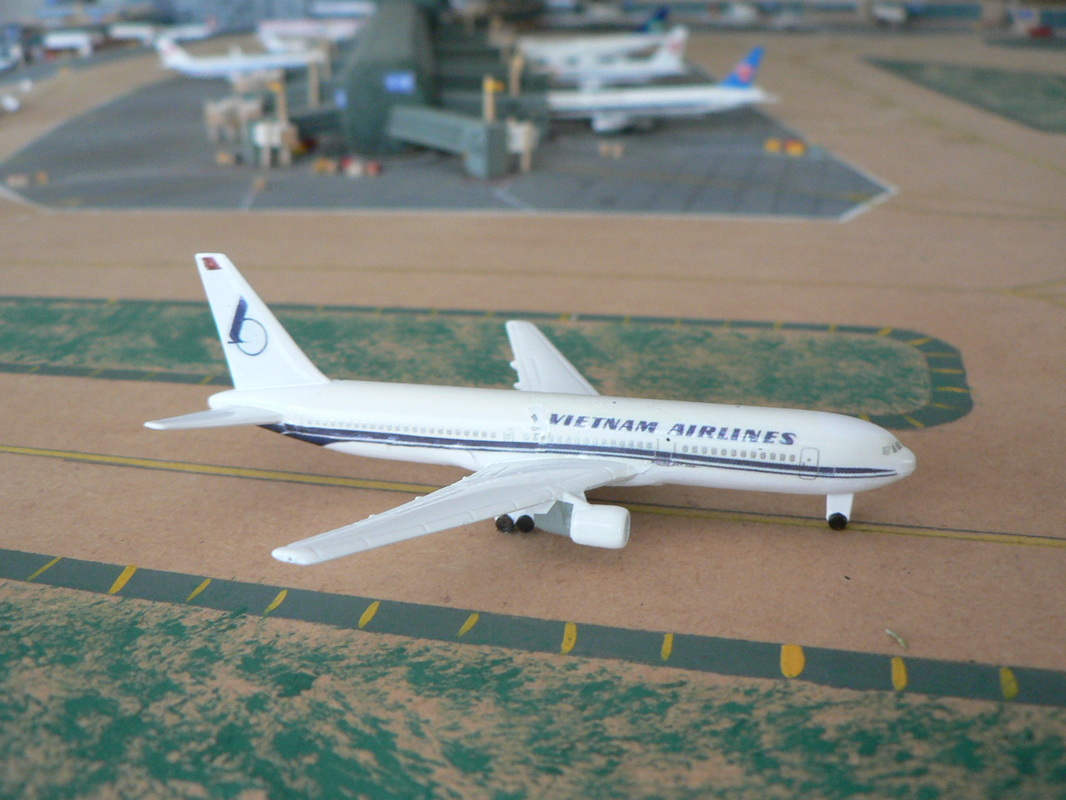
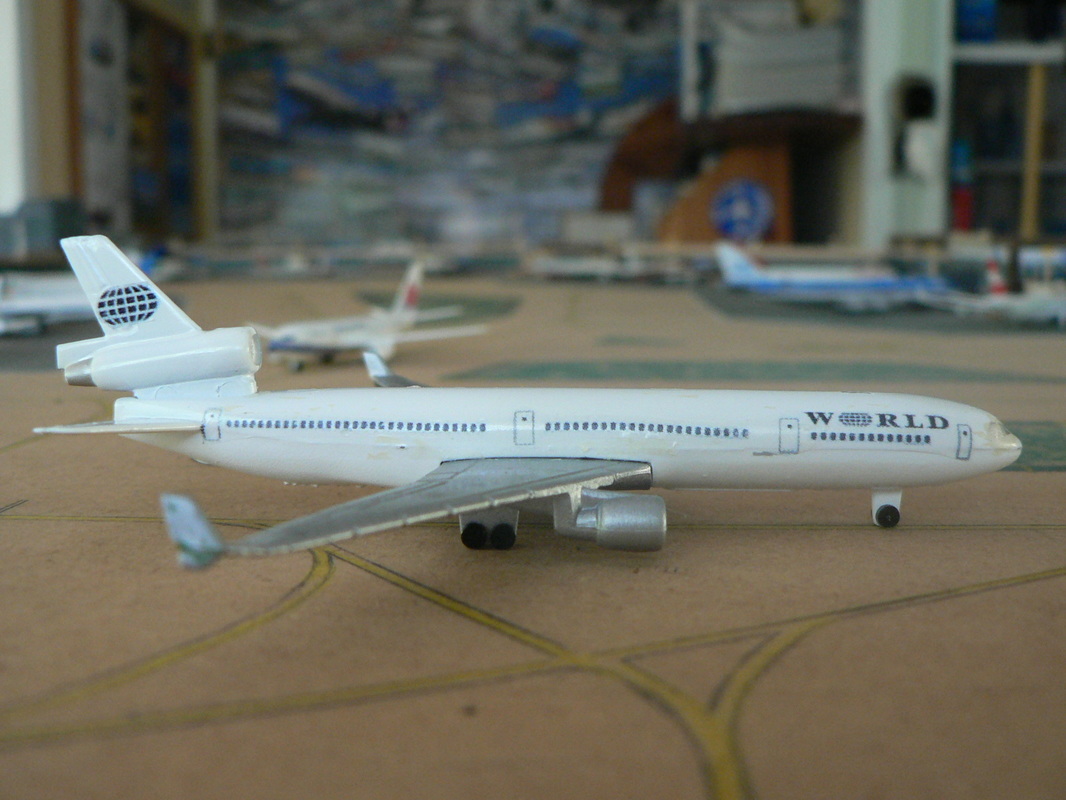
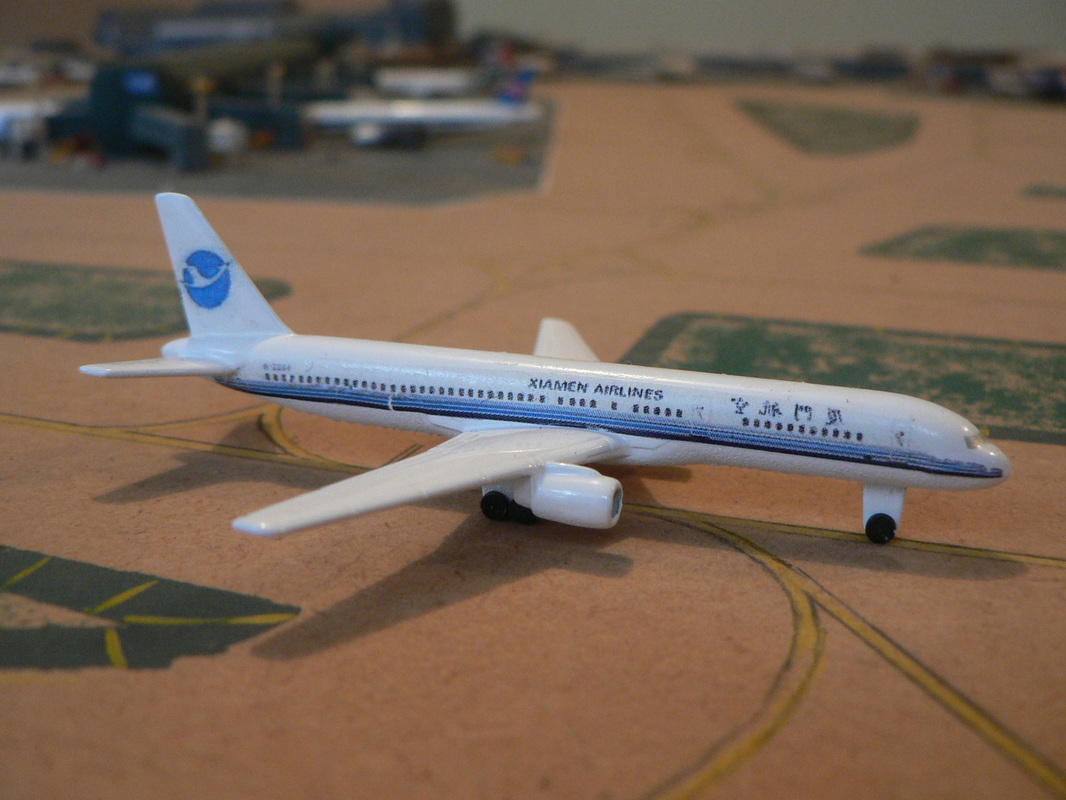
Below is a photo gallery of custom Schabaks I made: